

Detection of Cosmetic Defects on an Electronic Surface
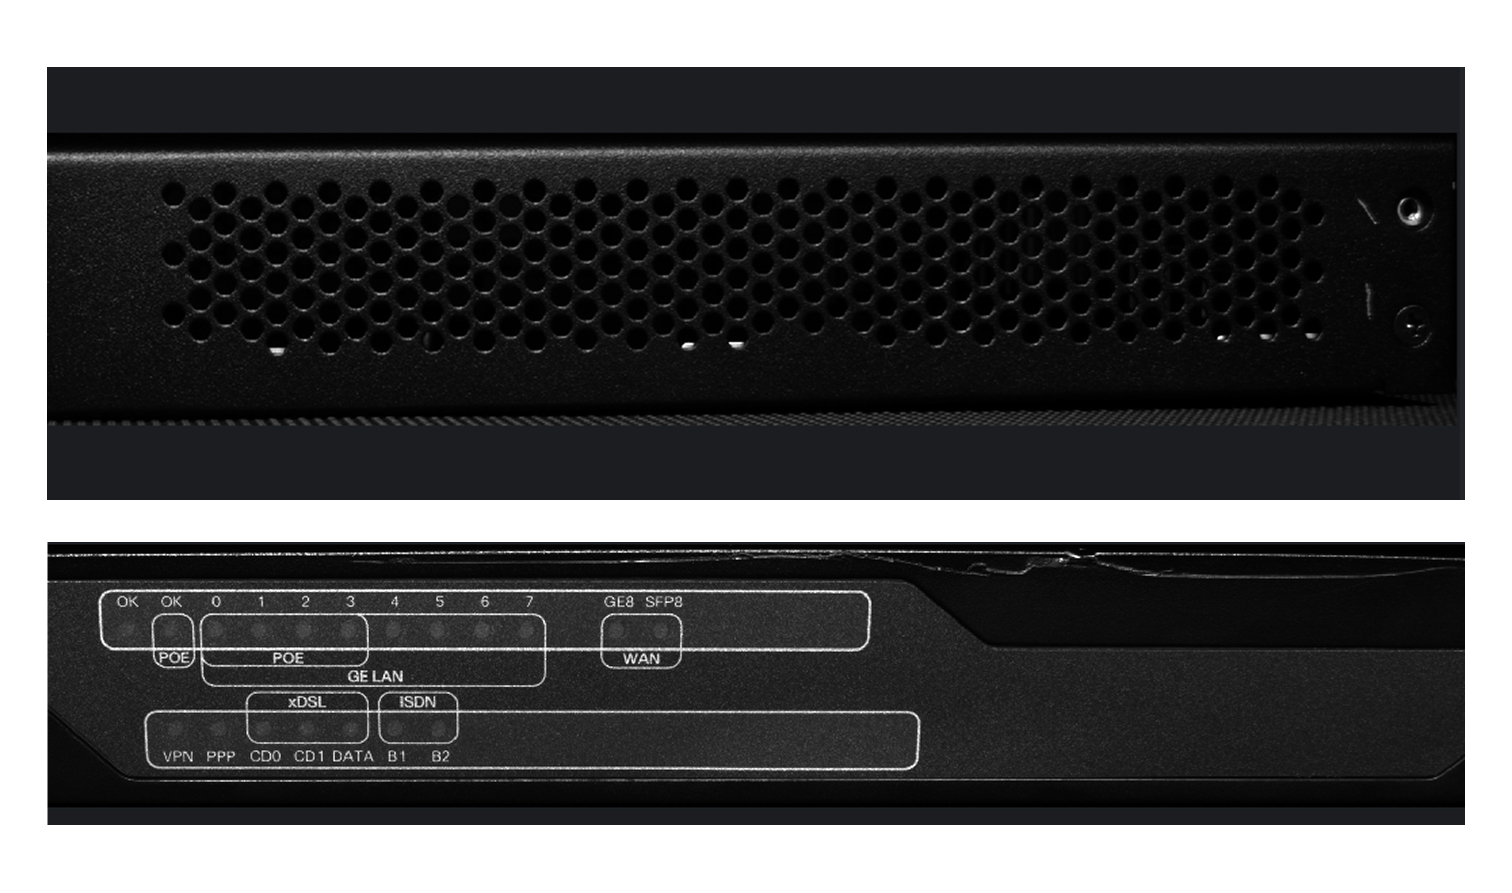
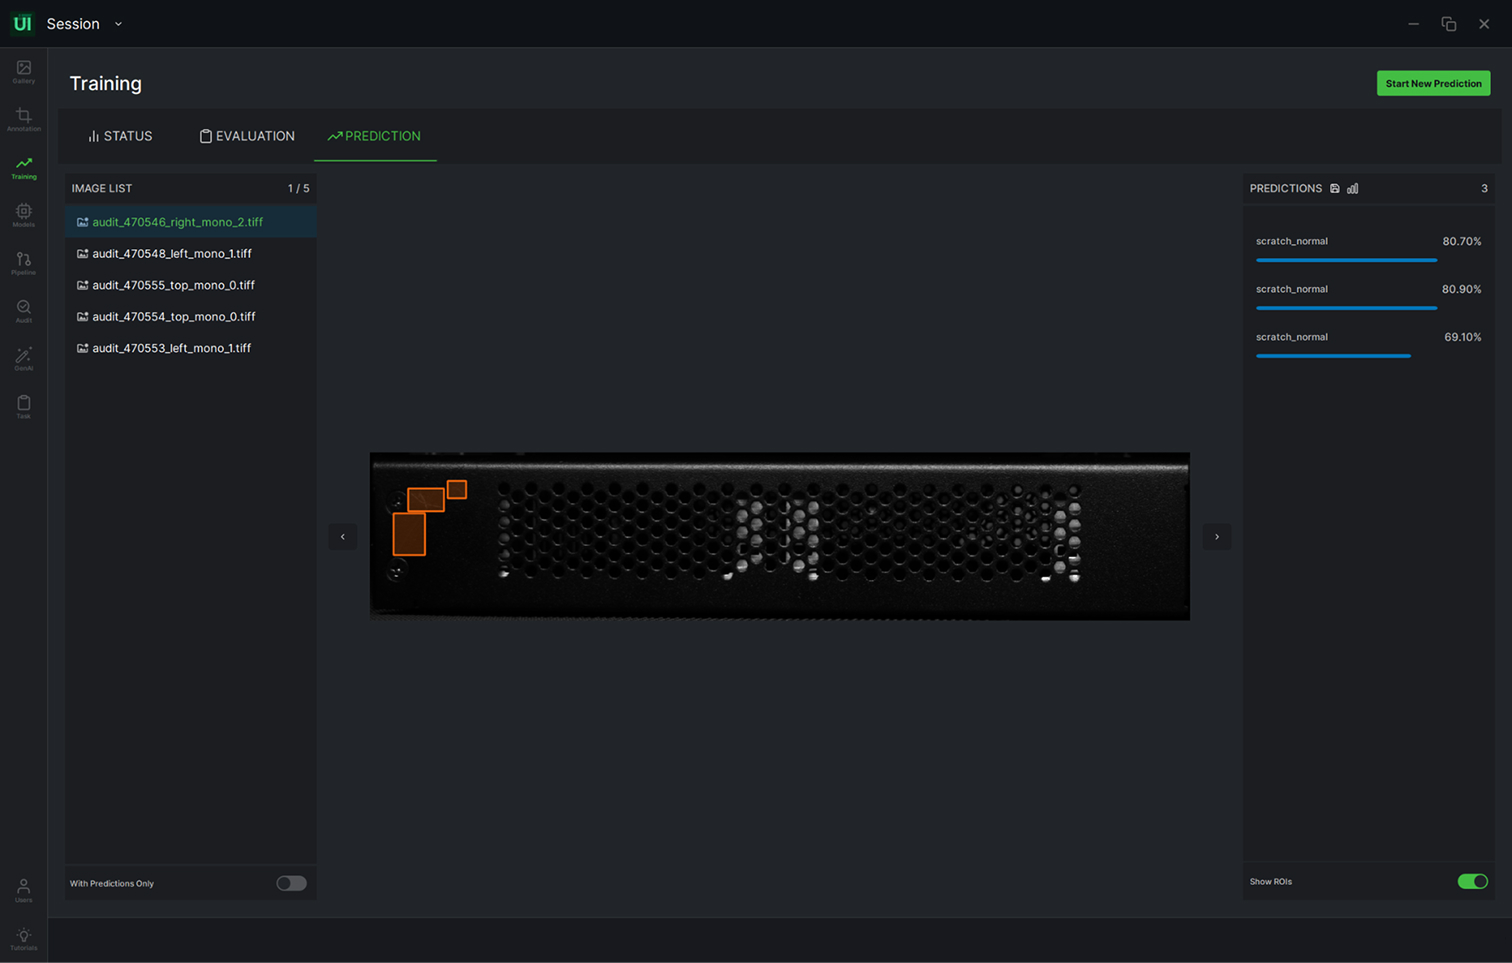
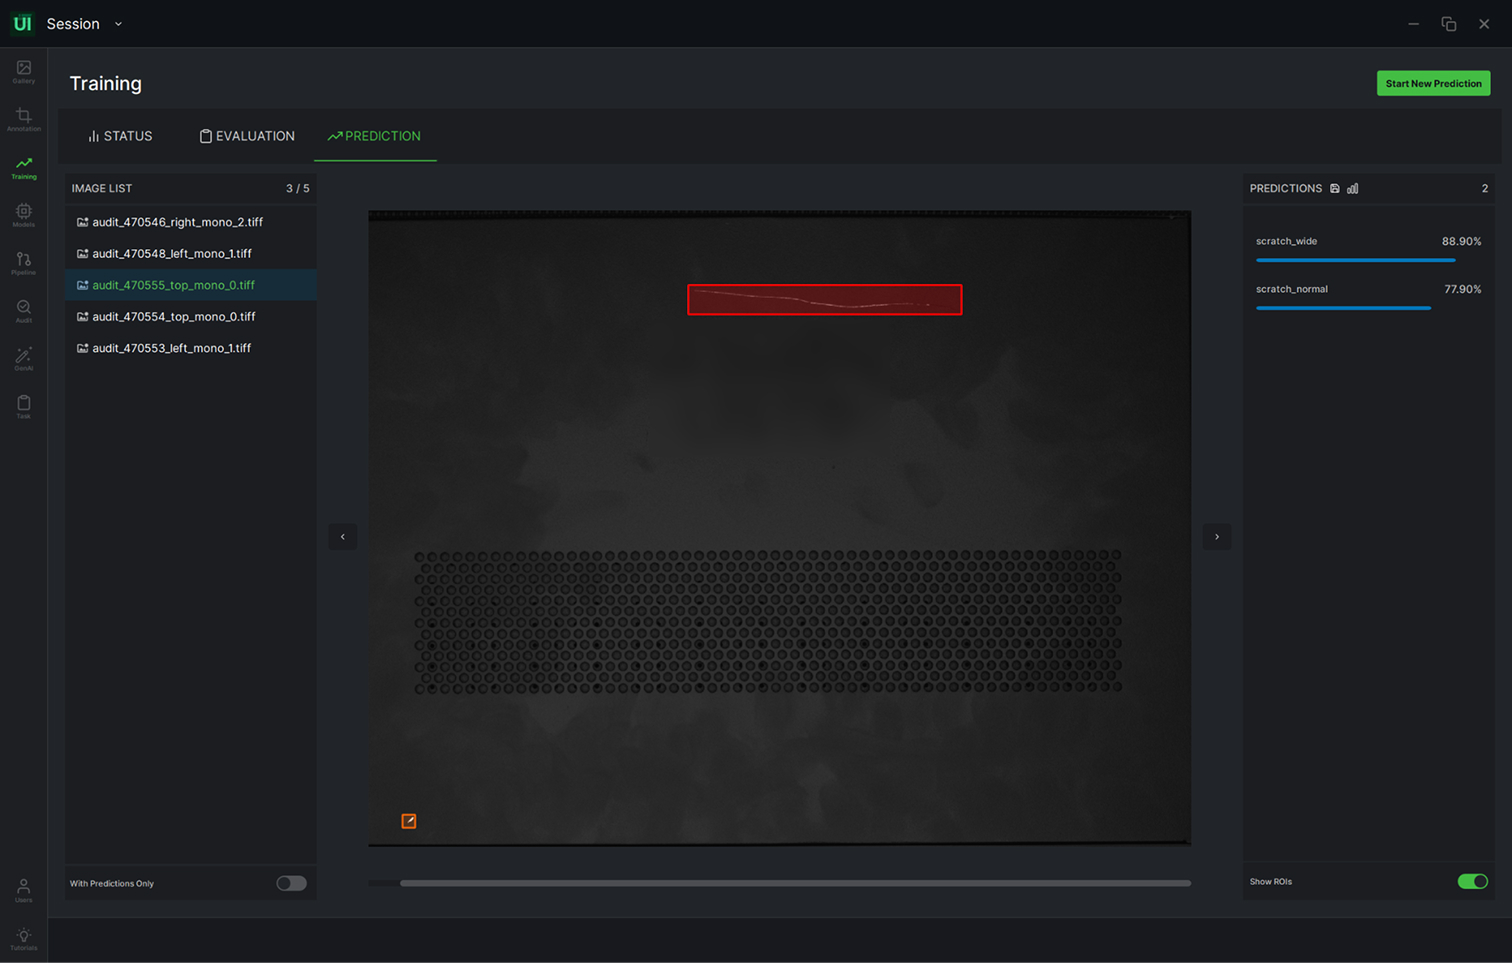
This playbook demonstrates how to detect scratches on router surfaces and classify them into two categories: scratchnormal and scratchwide. A detector identifies and localizes each scratch in the image, assigning it to the appropriate class. The model is used in a single inspection pipeline.
The dataset
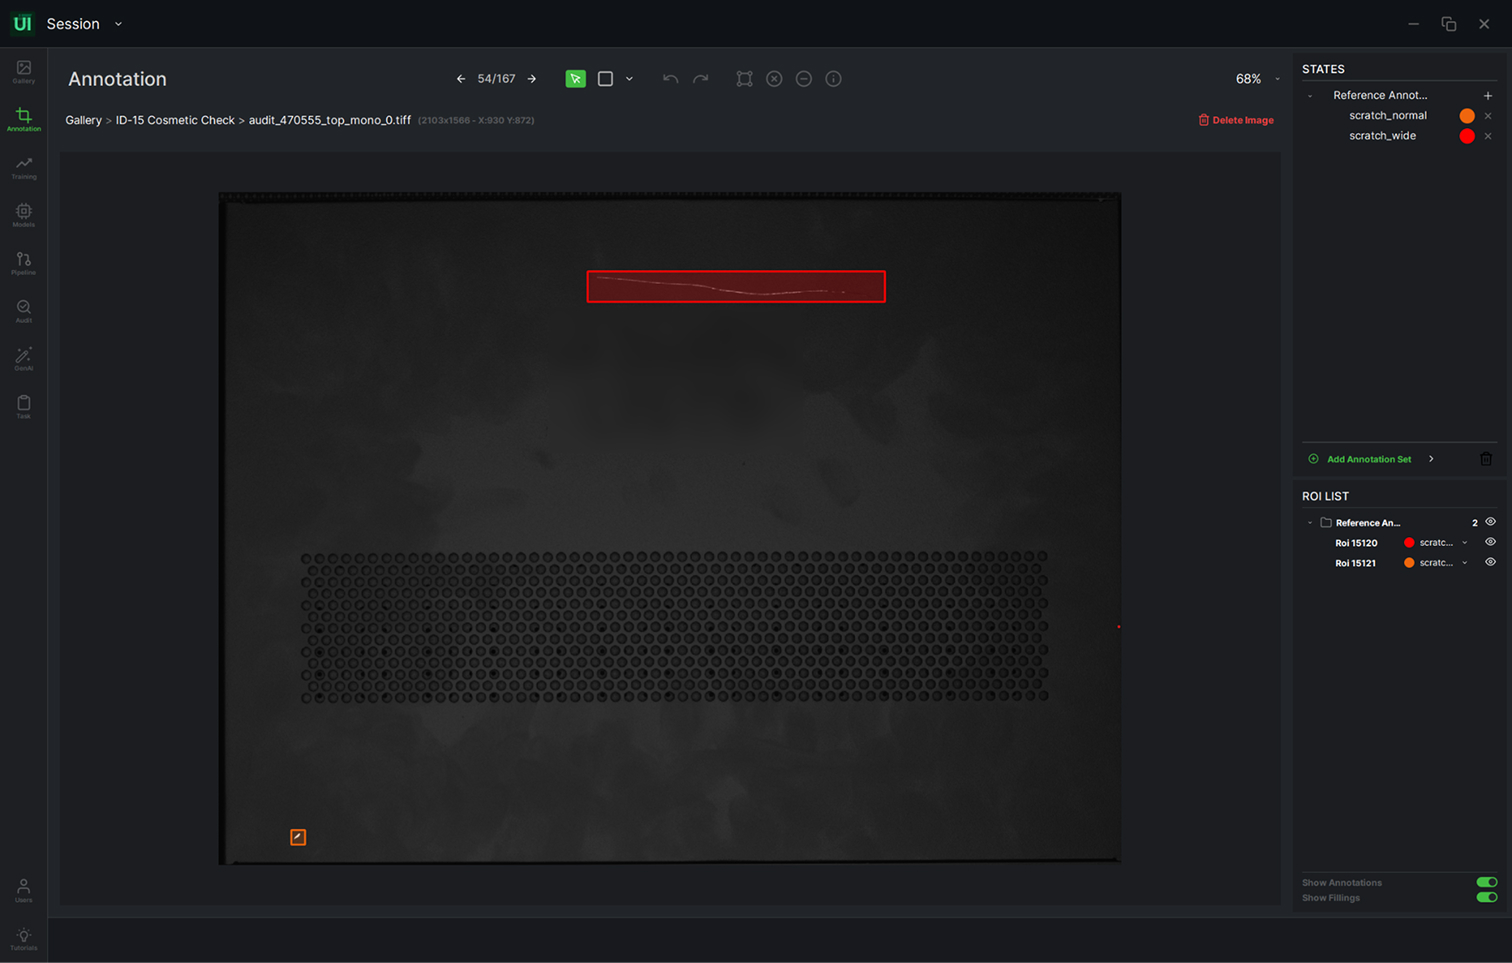
The dataset contains 167 images, each with up to two scratches. Both scratch types are annotated in LabelMe format, as shown below.
Load the annotated dataset
- Request access to ReliVision Learning Center and download the router surface image set and its LabelMe annotation files.
- In ReliUI, import the image set with Import Data.
- Import the annotation file for each image folder with Import Annotated Dataset, choosing the LabelMe annotation format.
- Your annotated dataset is now available in the Gallery.
Train the object detection model
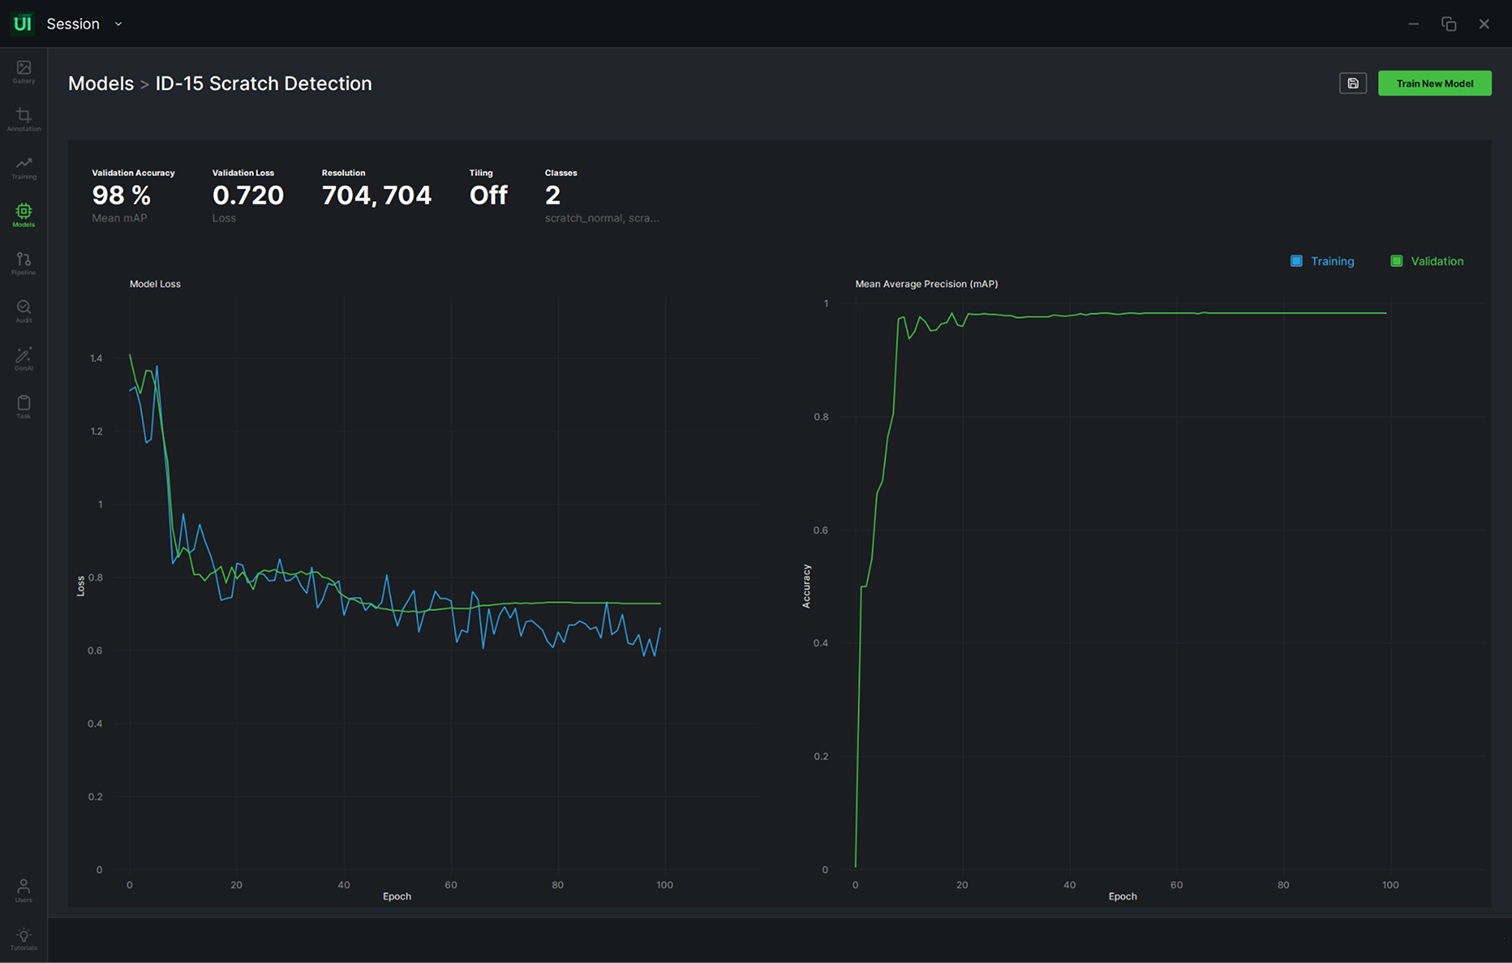
In ReliTrainer, train an AI block for router surface object detection. The main steps are:
- Select Object Detection as the model type.
- Select your annotated router surface dataset.
- Split the data into train and test sets, automatically or manually, to hold back some data for validation.
- Set the hyperparameters and start training.
Hyperparameters used in this use case
- Epochs: 100
- X-Y resolution: 704 (default)
- Learning rate: 0.0001 (default)
- Momentum: 0.937 (default)
- Weight decay: 0.0001 (default)
Build and run the pipeline
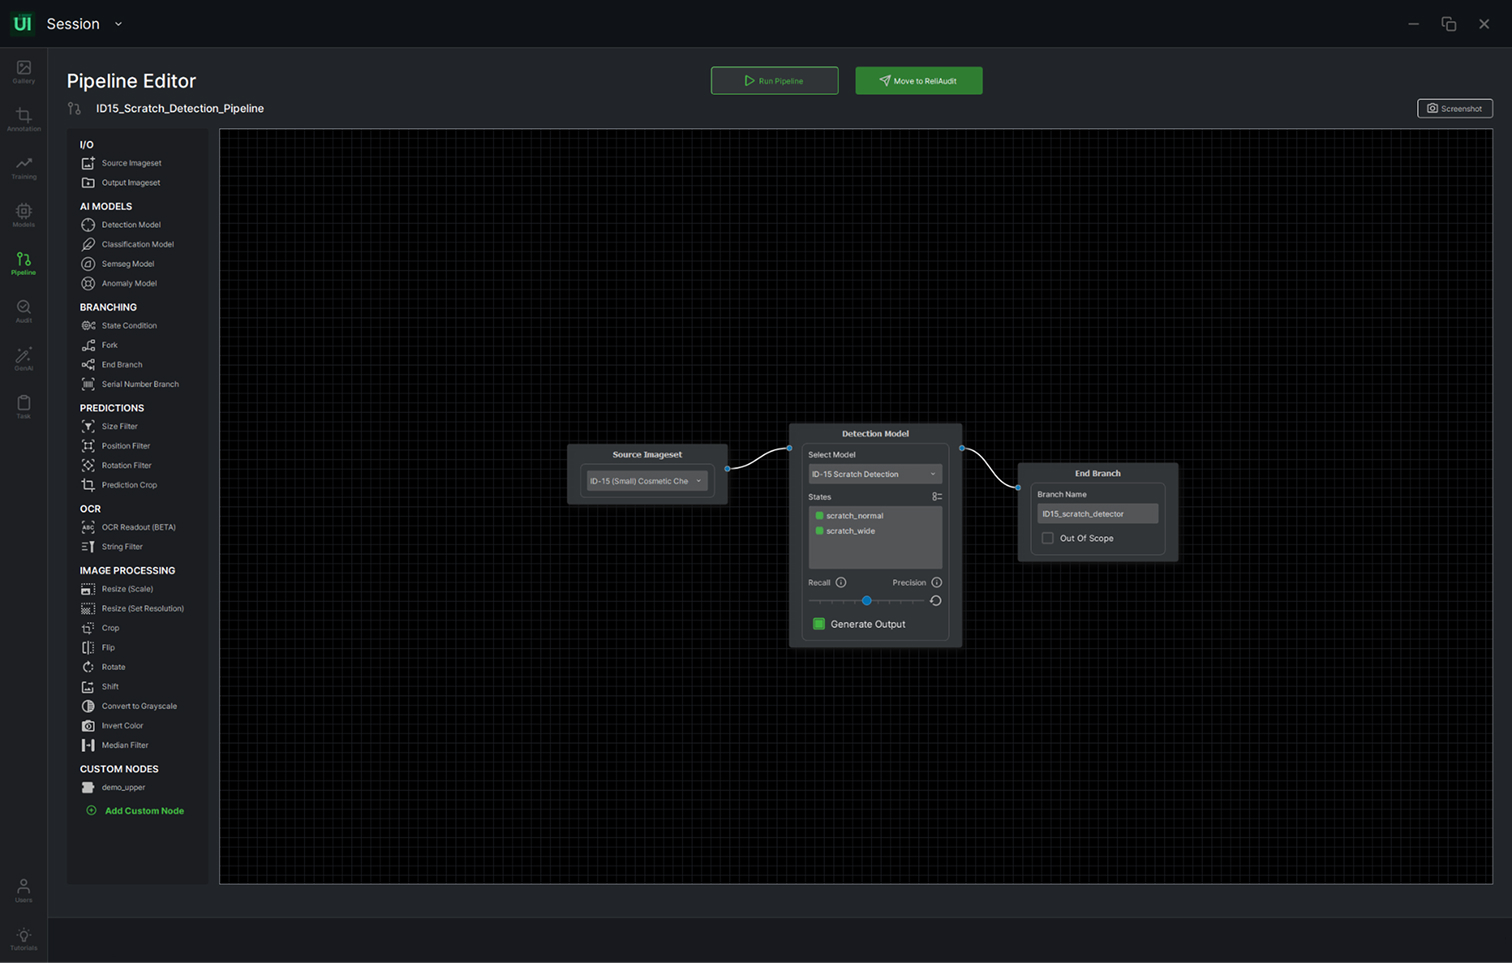
Use the pipeline editor to build the pipeline by dragging and dropping AI and basic blocks. For this use case you need an input data source and an object detection AI block connected in series.
- Open the pipeline editor.
- Add an input data source and point it at your raw router surface image set.
- Add the object detection AI block you trained and connect it after the input.
- Run the pipeline with the execute button at the top.
Review the results
Review the results in the ReliUI data annotation interface. The pipeline saves its outputs as a separate set of annotations for each image it runs on, so you can compare predictions against your labels image by image.
scratch_normal
scratch_wide
Related User Guide sections
- Import a raw dataset
- Import annotated data
- ROI annotation
- Training an AI block
- Create and edit a pipeline
Try it yourself
Download ReliVision to run this playbook on your own electronic surface images, or browse the other use cases.
Download ReliVision


