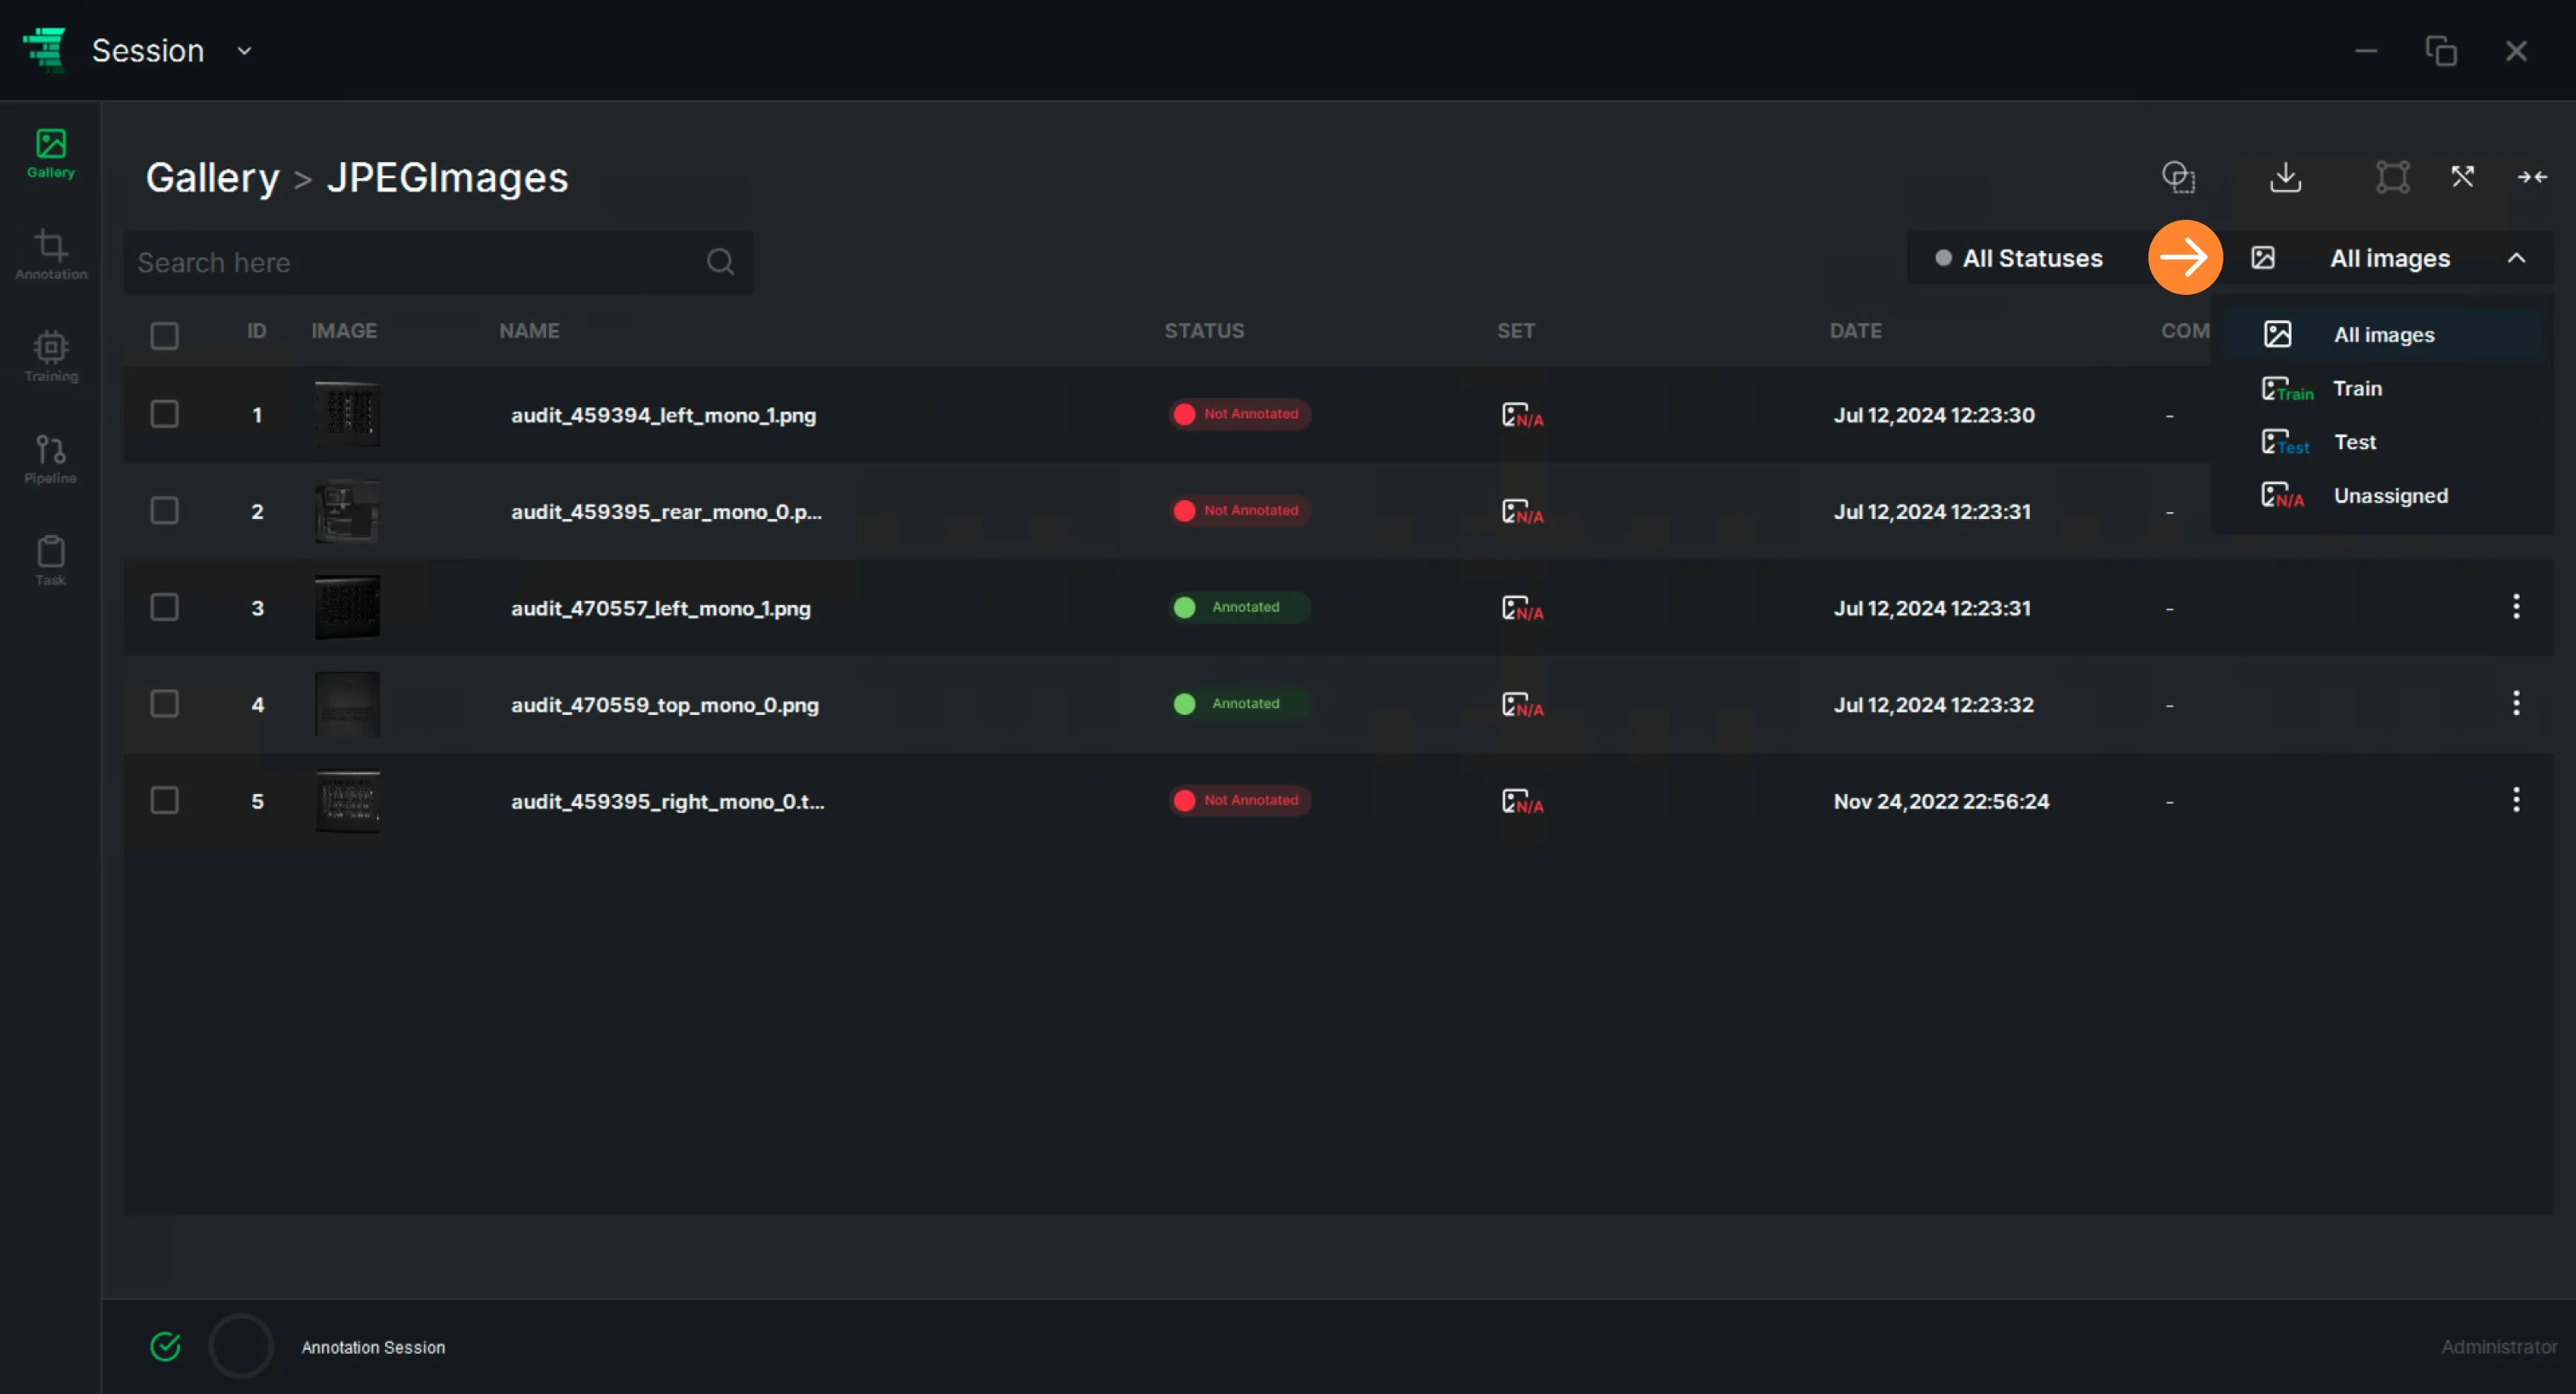
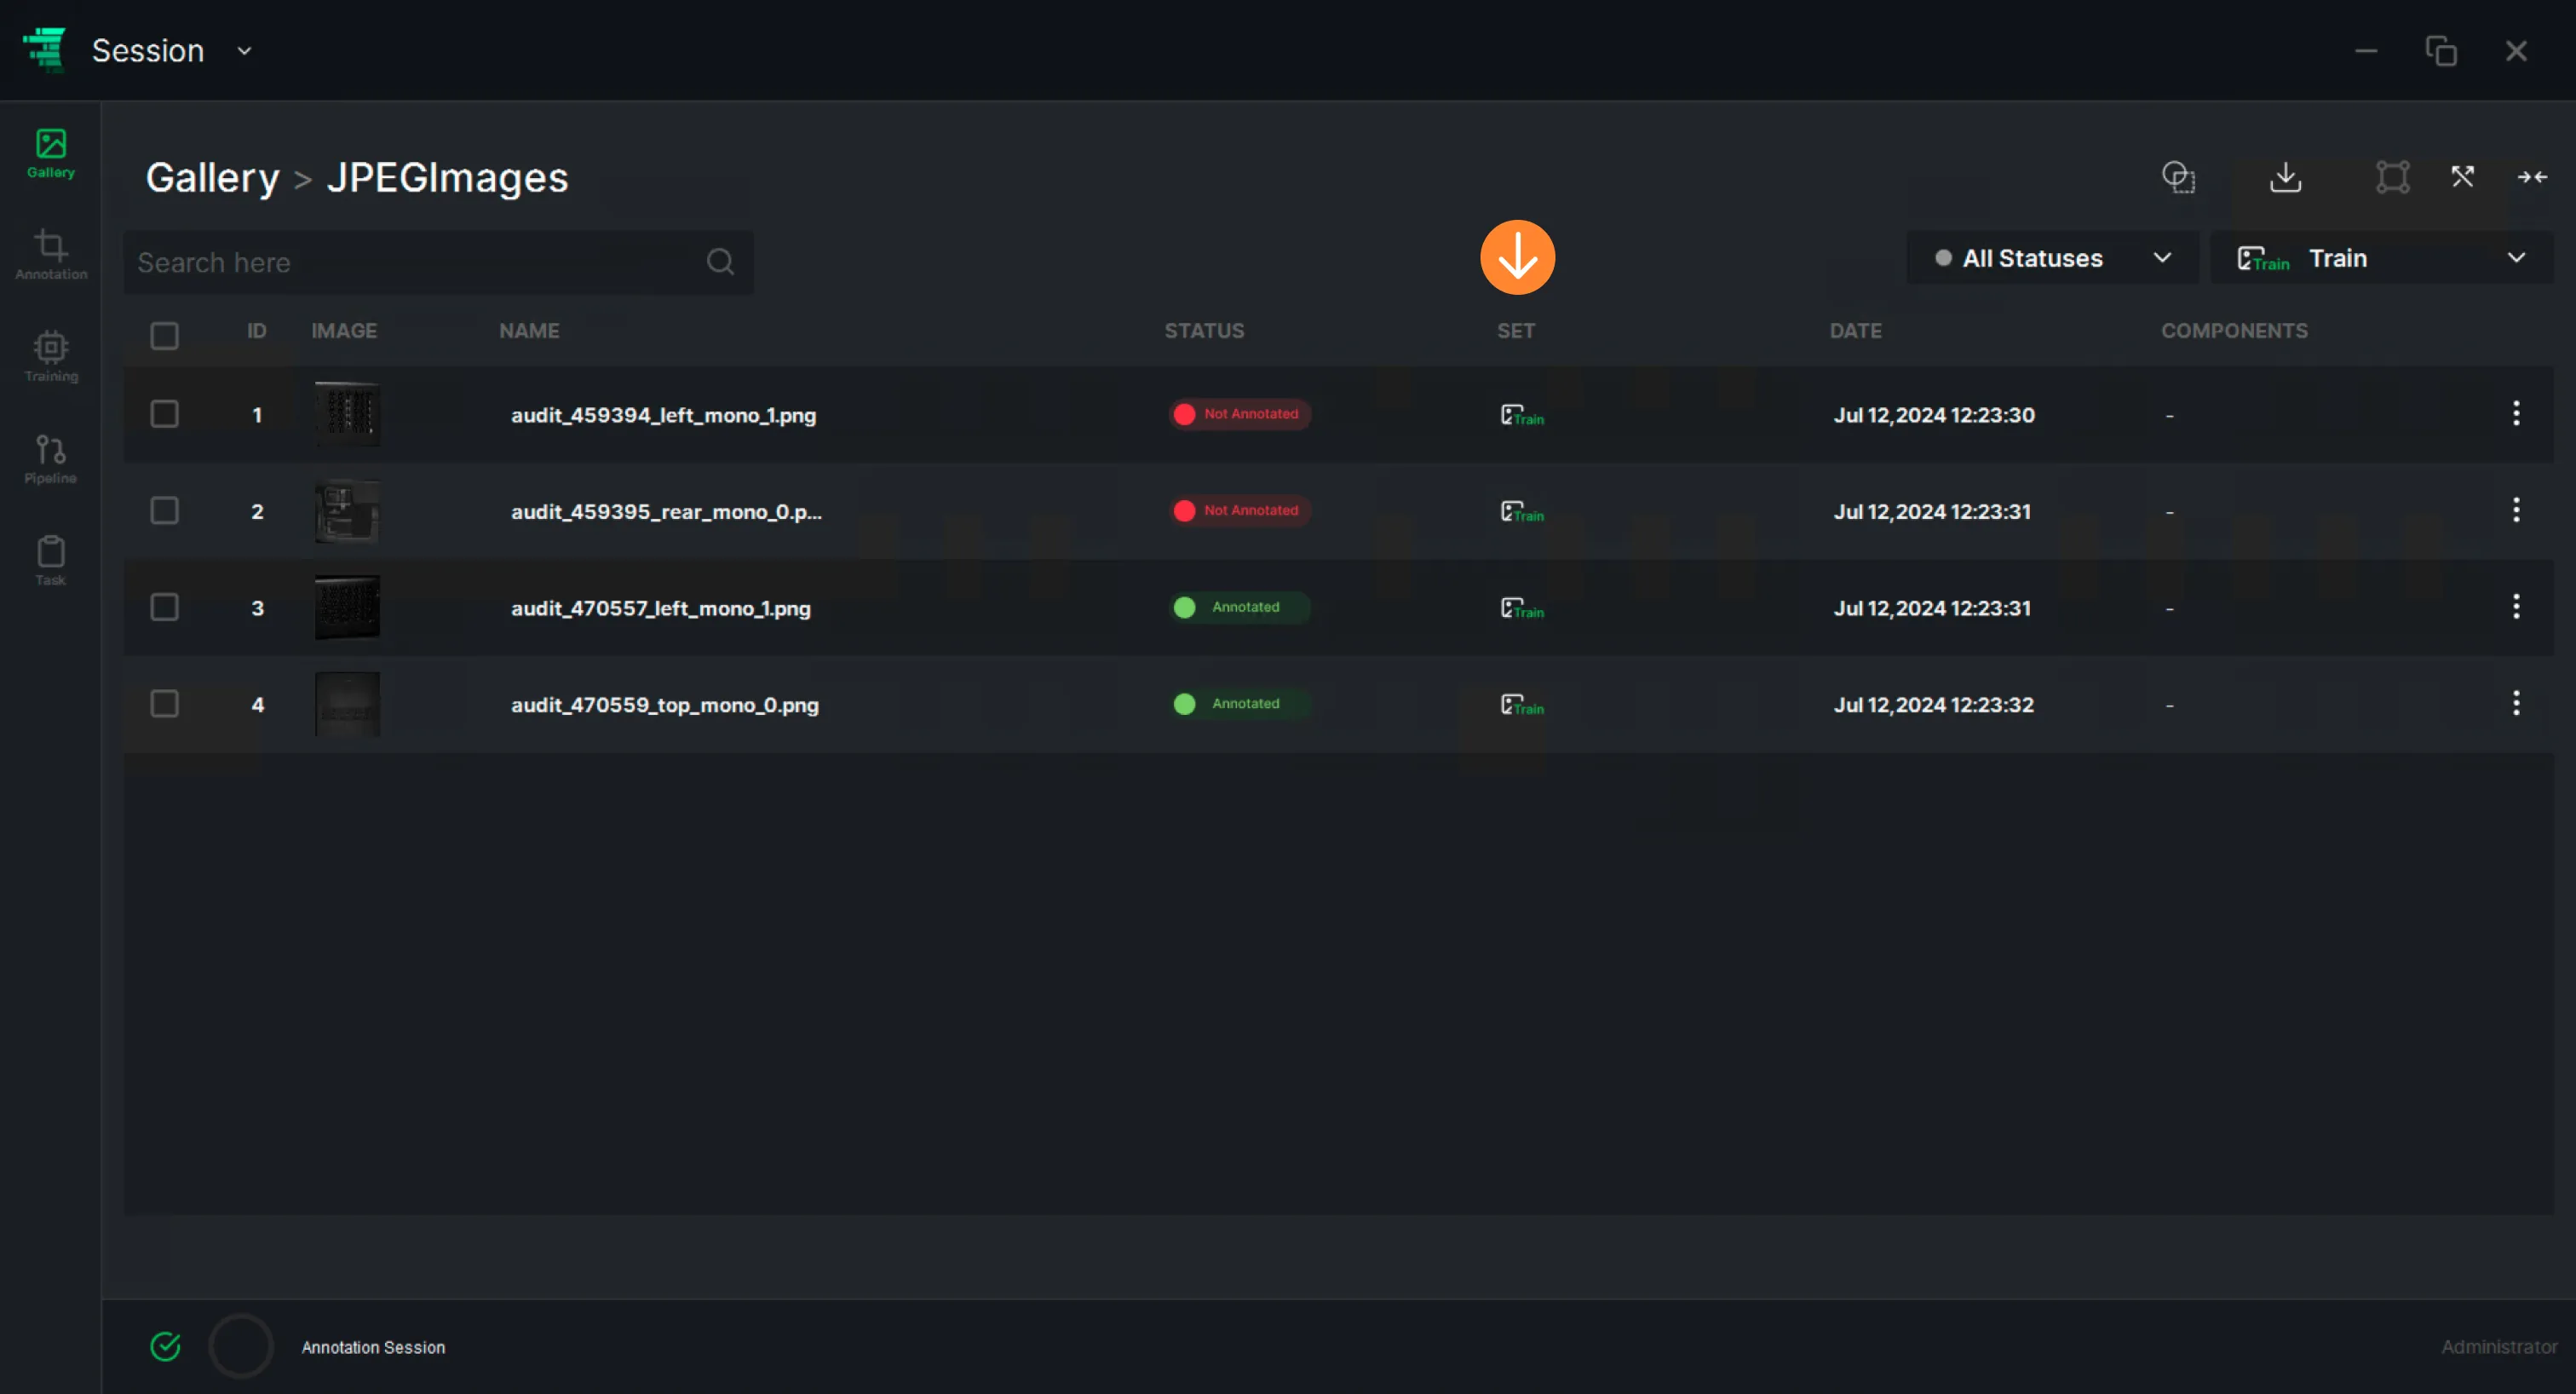
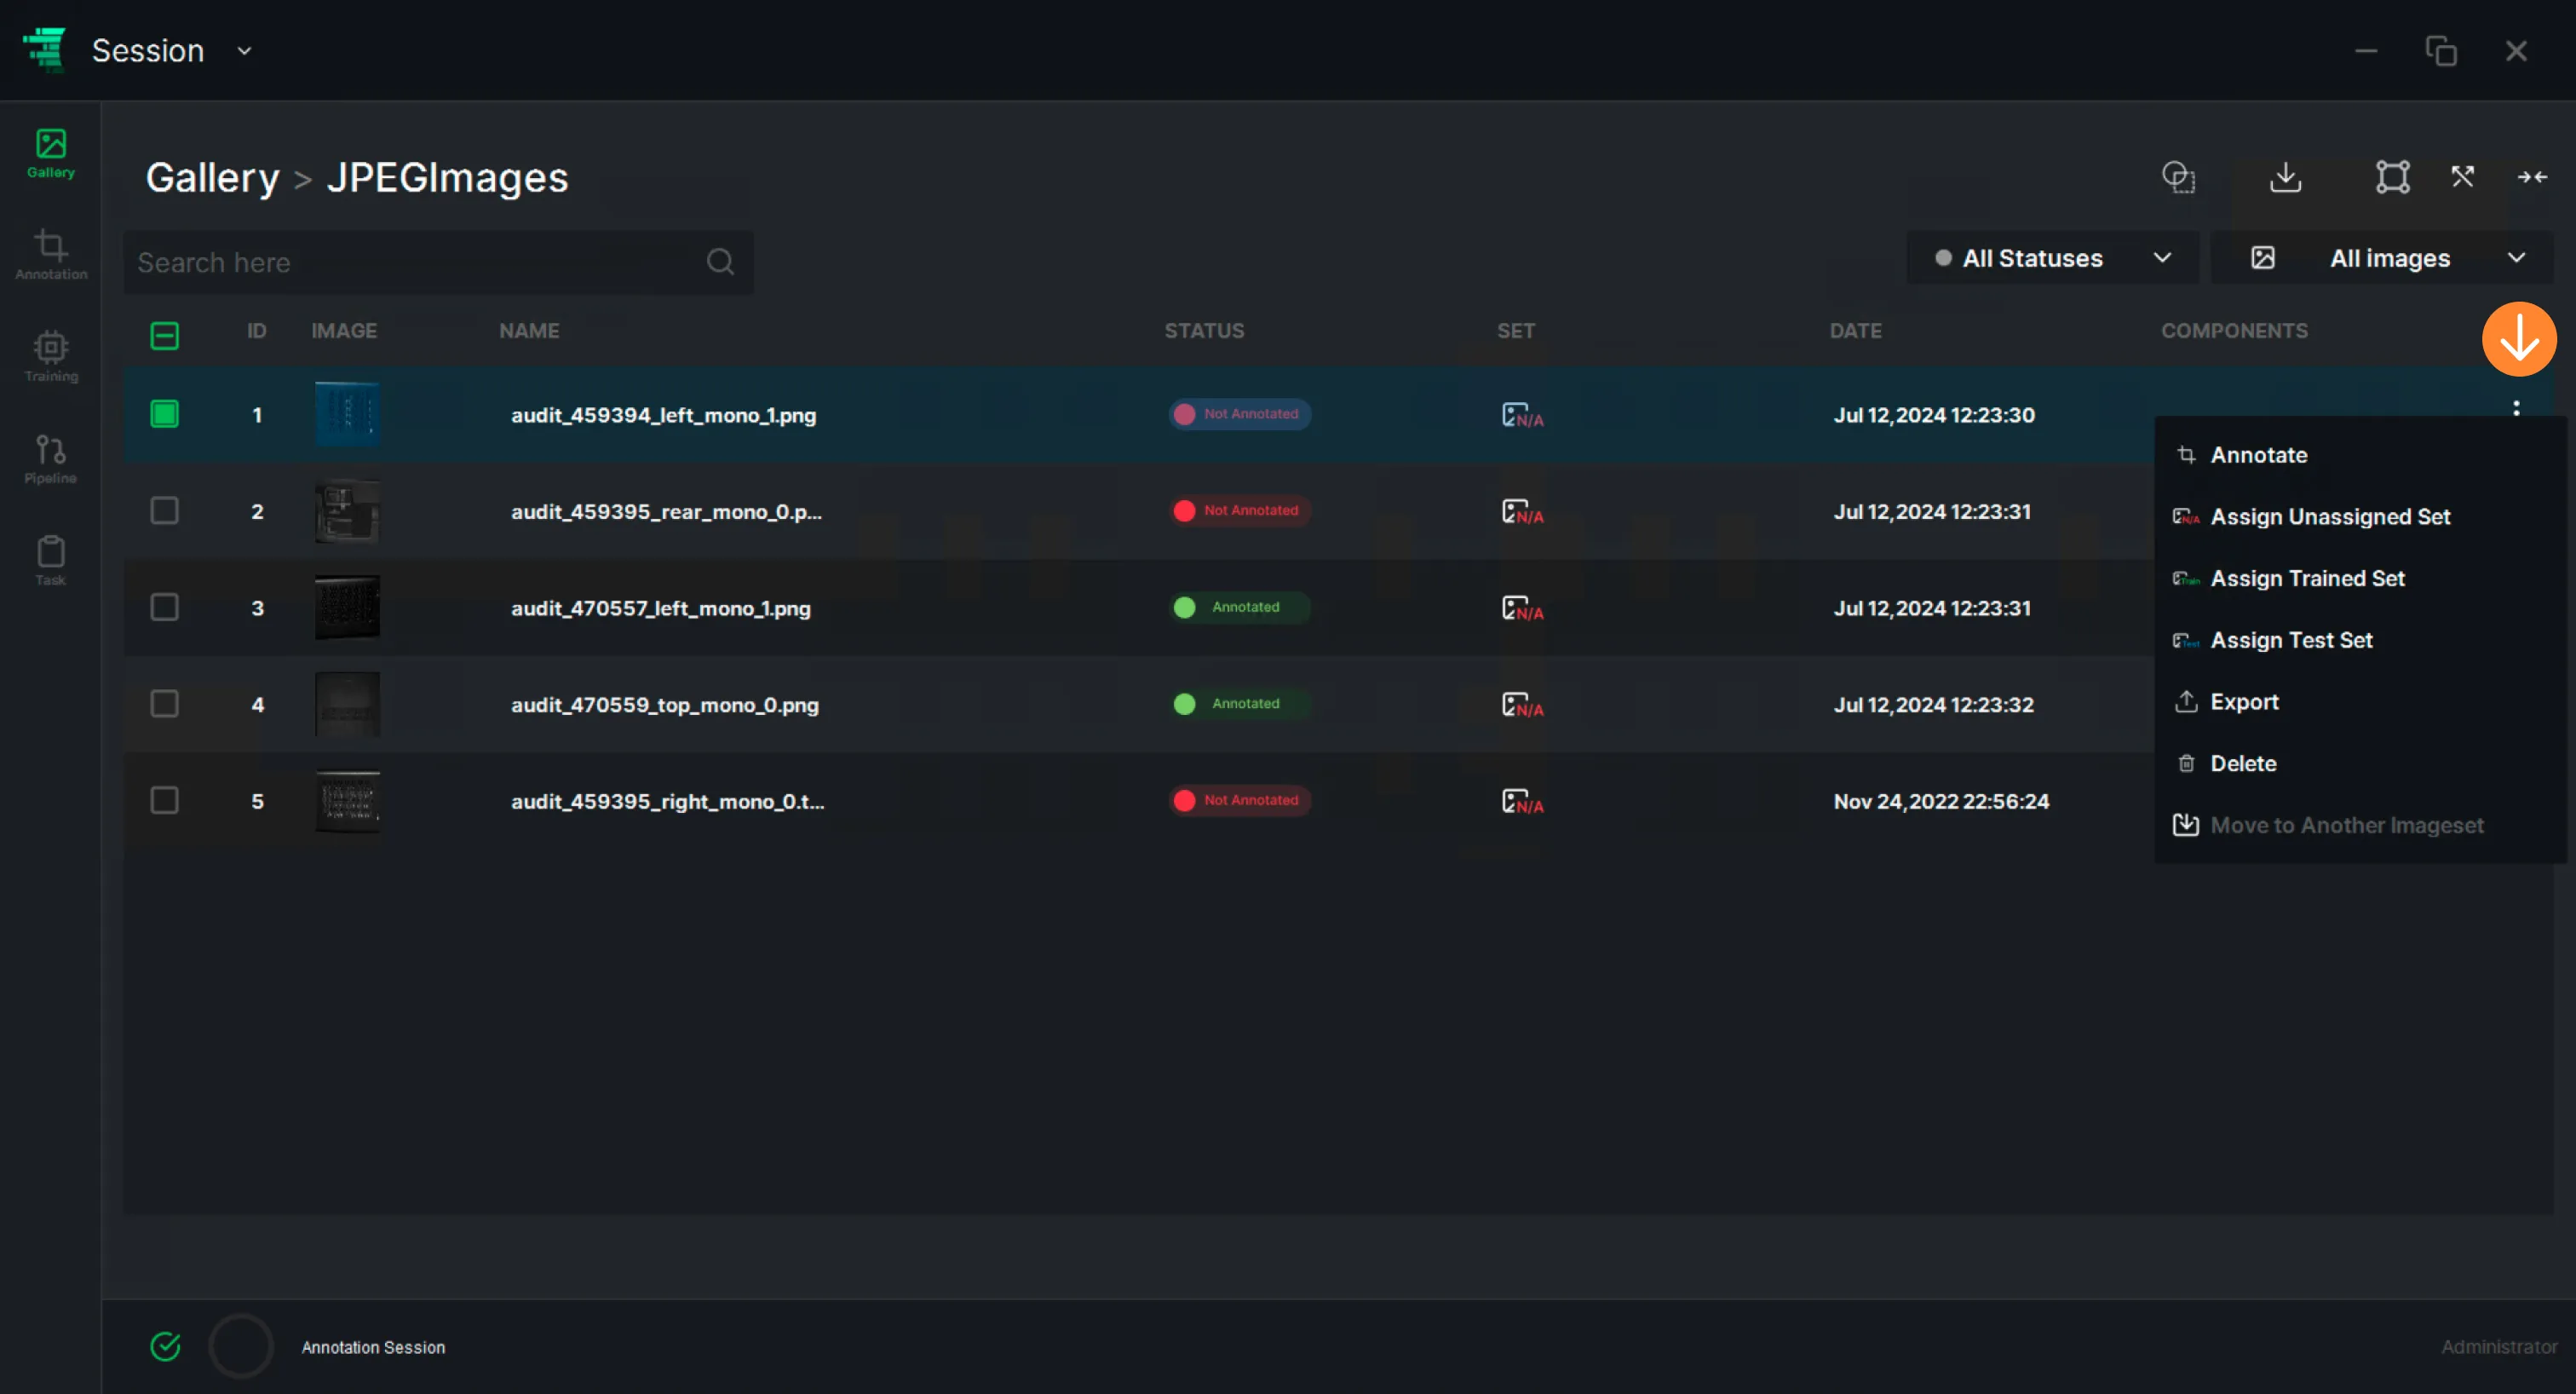
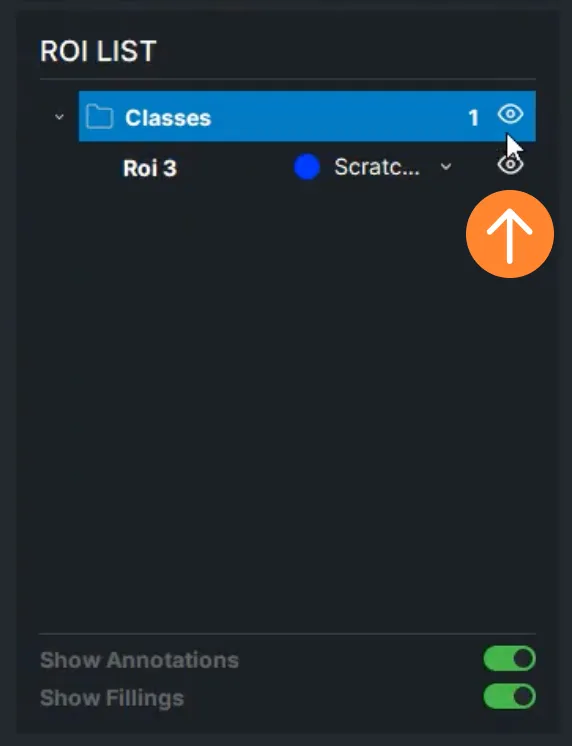
.svg)
The task is to detect alphanumeric characters on plates and classify them as “OK" or “NOK”. This is a Detection followed by a Classification task and can be realized as a pipeline composed of a detector followed by a classifier.
Dataset:
The dataset contains 50 plates and each character is labeled as “OK” or “NOK” depending on defects. Examples of good (green box) and defective (red box) characters can be seen below.
.jpg)
Data Loading & Annotation:
You have 2 options:
- Download data annotated with LabelMe format from here. Load the imageset and the annotations that you downloaded, using ReliVision. To do that, import the imageset using “Import Data” and the annotation file per image folder using the “Import Annotated Dataset” (with the LabelMe annotation format option). Your annotated dataset will be available in the gallery.
- Load the imageset and annotate the data yourself in any industry standard format you like using the ReliVision’s intuitive annotation functions. To do that, download the image folder. Follow the ReliVision Knowledge Hub User Guide to define the target state/label (which is a label of the character as OK and NOK), to annotate the characters (using rectangle annotation tool as the task is object detection) and to save them in an appropriate industry standard format (for which LabelMe is a good option). A sample annotation of a metal plate is as follows:
.jpg)
Building A Character Detection and Classification Pipeline:
We will be building a pipeline that is composed of a series connected character detector and a character classifier. The character detector will be responsible for detecting the characters , if there is any, and outputting a bounding box. The classifier will be fed with character detection results (the cropped images of the characters detected) and will decide on the type of the character (OK or NOK).
Training a Character Detector:
- Prepare your data for character detector training: In order to train a character detection model, you need to have training images in which all characters, of all types, are annotated with a common label, such as “character”. Merge your labels into a single class called “Character”. VisitReliVision Knowledge Hub User Guide to see how to do this
- Follow the ReliVision Knowledge Hub User Guide to train your AI model for metal plate character detection. The main steps, detailed in the User Guide, include
- Model type selection: Detection
- Annotated dataset selection
- Automated or manual train/test split which essentially spares some data for training validation purposes.
- Hyper parameter setting: We have chosen the following in this use case:
- Epochs: 20
- X-Y Resolution: 704 (default)
- Learning Rate: 0.0001 (default)
- Momentum: 0.937 (default)
- Weight Decay: 0.0005
Training and Validation loss and mAP curves as a function of epochs.
.jpg)
Training a Character Classifier:
- Prepare your data for character classifier training: In order to train a character classifier model, you need to have training images of individual (cropped) characters with labels . The dataset provided has rectangle annotations with 2 labels corresponding to different label types. The best option is to
Extract the rectangle annotations using the ReliVision data curation functions. See ReliVision Knowledge Hub User Guide to see how to do this. - Follow the ReliVision Knowledge Hub User Guide to train your AI model for whole image classification (OK or NOK). The main steps, detailed in the User Guide, include
- Model type selection: Classification
- Annotated dataset selection
- Automated or manual train/test split which essentially spares some data for training validation purposes.
- Hyper parameter setting: We have chosen the following in this use case:
- Epochs: 300 (default)
- X-Y Resolution: 224 (default)
- Learning Rate: 0.0001 (default)
- Momentum: 0.99 (default)
- Weight Decay: 0.0005 (default)
Training and Validation loss and mAP curves as a function of epochs.
.jpg)
Use the pipeline editor to build your pipeline by dragging and dropping the AI/Basic blocks. For this specific case, we do not need any Basic Block (Digital signal/image processing - DSP/DIP - functions). You will need to select an input data source (your raw image set), a detection AI Block (the defect detector you trained) and a defect classifier (the classifier you trained) connected in series as depicted below. Follow the ReliVision Knowledge Hub User Guide (ReliTrainer: Pipeline Editor)
.jpg)
Simply run your pipeline using the execute button at the top. Visit the ReliVision Knowledge Hub User Guide (ReliTrainer: Pipeline Editor) for more details. You can review your results using the ReliTrainer data annotation interface. Your pipeline’s outputs will be saved as a separate set of annotations for each image it is run on. Visit the ReliVision Knowledge Hub User Guide for more details. Here are some output examples:
.jpg)
.webp)
.webp)
.webp)
.webp)
.webp)
.webp)
.webp)
.webp)
.webp)
.webp)
.webp)
.webp)
.webp)
.webp)
.webp)
.webp)
.webp)
.webp)
.webp)
.webp)
.webp)
.webp)
.webp)
.webp)
.webp)
.webp)
.webp)
.webp)
.webp)
.webp)
.webp)
.webp)
.webp)
.webp)
.webp)
.webp)
.webp)
.webp)
.webp)
.webp)
.webp)
.webp)
.webp)
.webp)
.webp)
.webp)
.webp)
.webp)
.webp)
.webp)
.webp)
.webp)
.webp)
.webp)
.webp)
.webp)
.webp)
.webp)
.webp)
.webp)
.webp)
.webp)
.webp)
.webp)
.webp)
.webp)
.webp)
.webp)
.webp)
.webp)
.webp)
.webp)
.webp)
.webp)
.webp)
.webp)
.webp)
.webp)
.webp)
.webp)
.webp)
.webp)
.webp)
.webp)
.webp)
.webp)
.webp)
.webp)
.webp)
.webp)
.webp)
.webp)
.webp)
.webp)