

How to Deploy Inspection with Minimal Data
Most inspection projects stall because there are not enough defect images to train on — the defect is rare, which is exactly why you want to catch it. This workflow starts from a handful of real defect samples, turns them into a reusable defect library, generates realistic synthetic defects on your own good parts, and merges everything into one training set.
- 9 steps
- A few real defect images to start
- No code
Collect a few real defect samples
Start by gathering a small number of images containing real defects — NOK images — that represent the defect you want to detect. This is the only part of the workflow that needs real defective parts, and it needs very few of them.
Typical input
- A few representative defect examples.
- Different appearances of the same defect, if you have them.
.jpg)
Annotate the defects
Annotate the defects in the selected NOK images. You are marking both what the defect looks like and where it sits on the part.
.jpg)
Create or extend the defect library
Add the new defect to the GenAI Defect Library by selecting the annotated defect dataset. If a library already exists for this product family, you are extending it rather than starting over.
.jpg)
Select representative non-defective images
Choose a small set of OK images that represent normal production. These are the clean surfaces the synthetic defects will be rendered onto, so they set the realism ceiling for everything generated afterwards.
Typical selection
- Up to 10 images.
- Covering normal variations such as lighting, orientation and surface appearance.
.jpg)
Define possible defect regions
Annotate the OK images to indicate where defects can realistically occur.
.jpg)
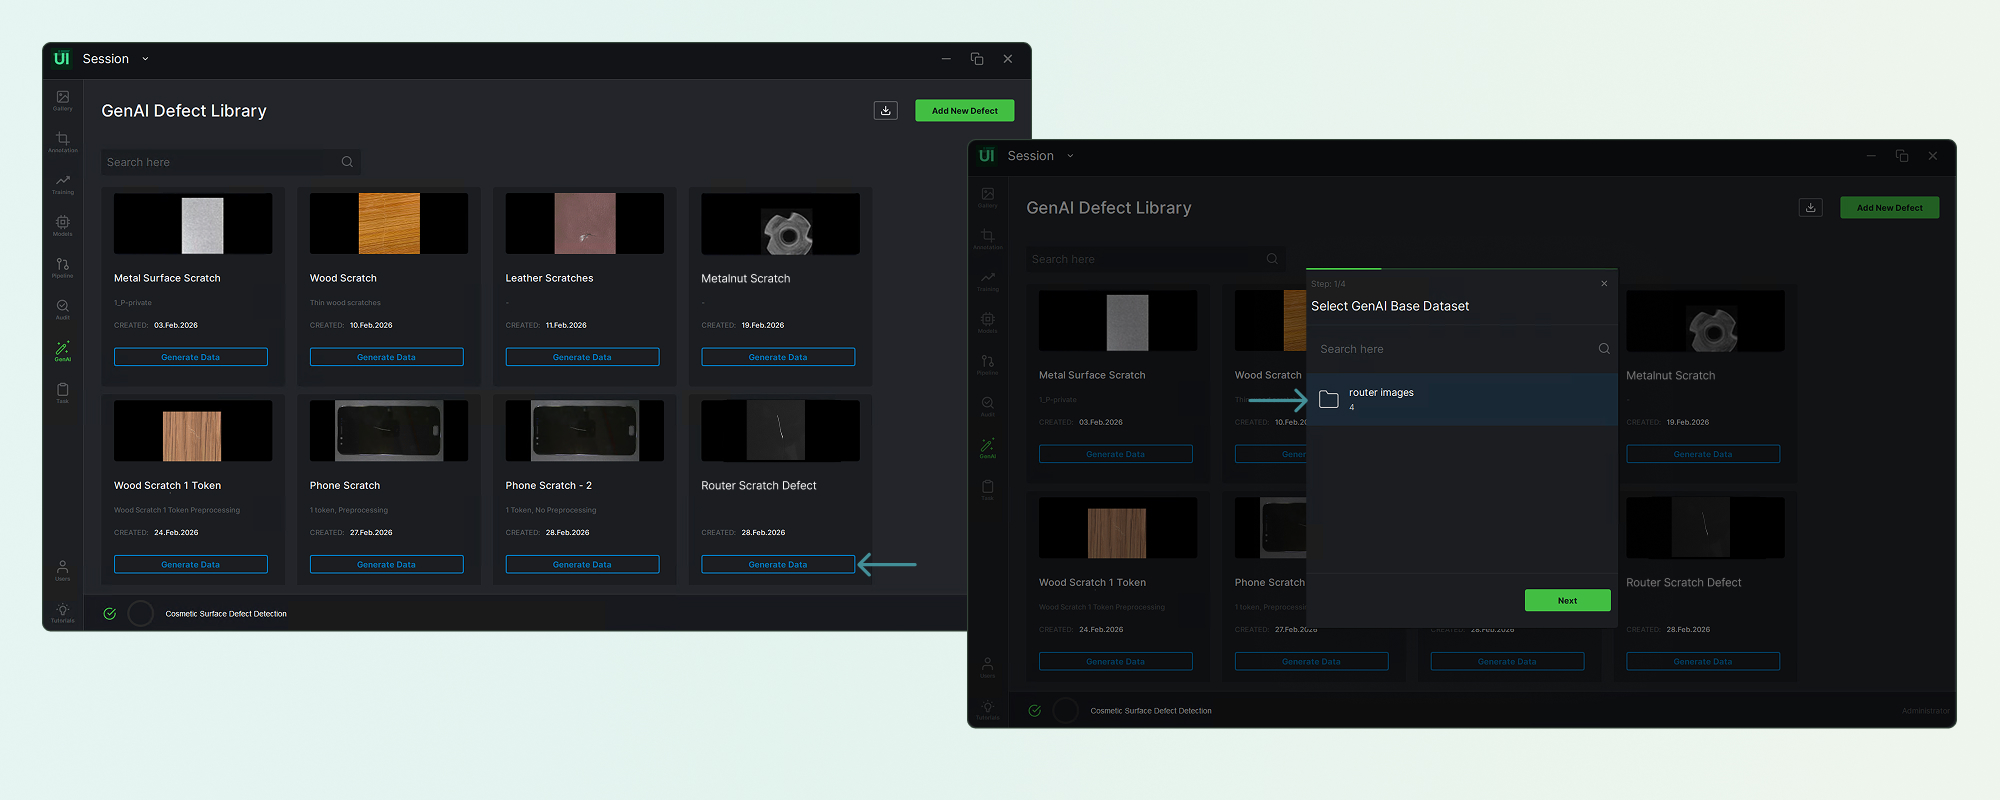
Generate synthetic defect images
Use the defect templates from the defect library to generate synthetic defects on the OK images. This is the step that turns a handful of real examples into a dataset large enough to train on.
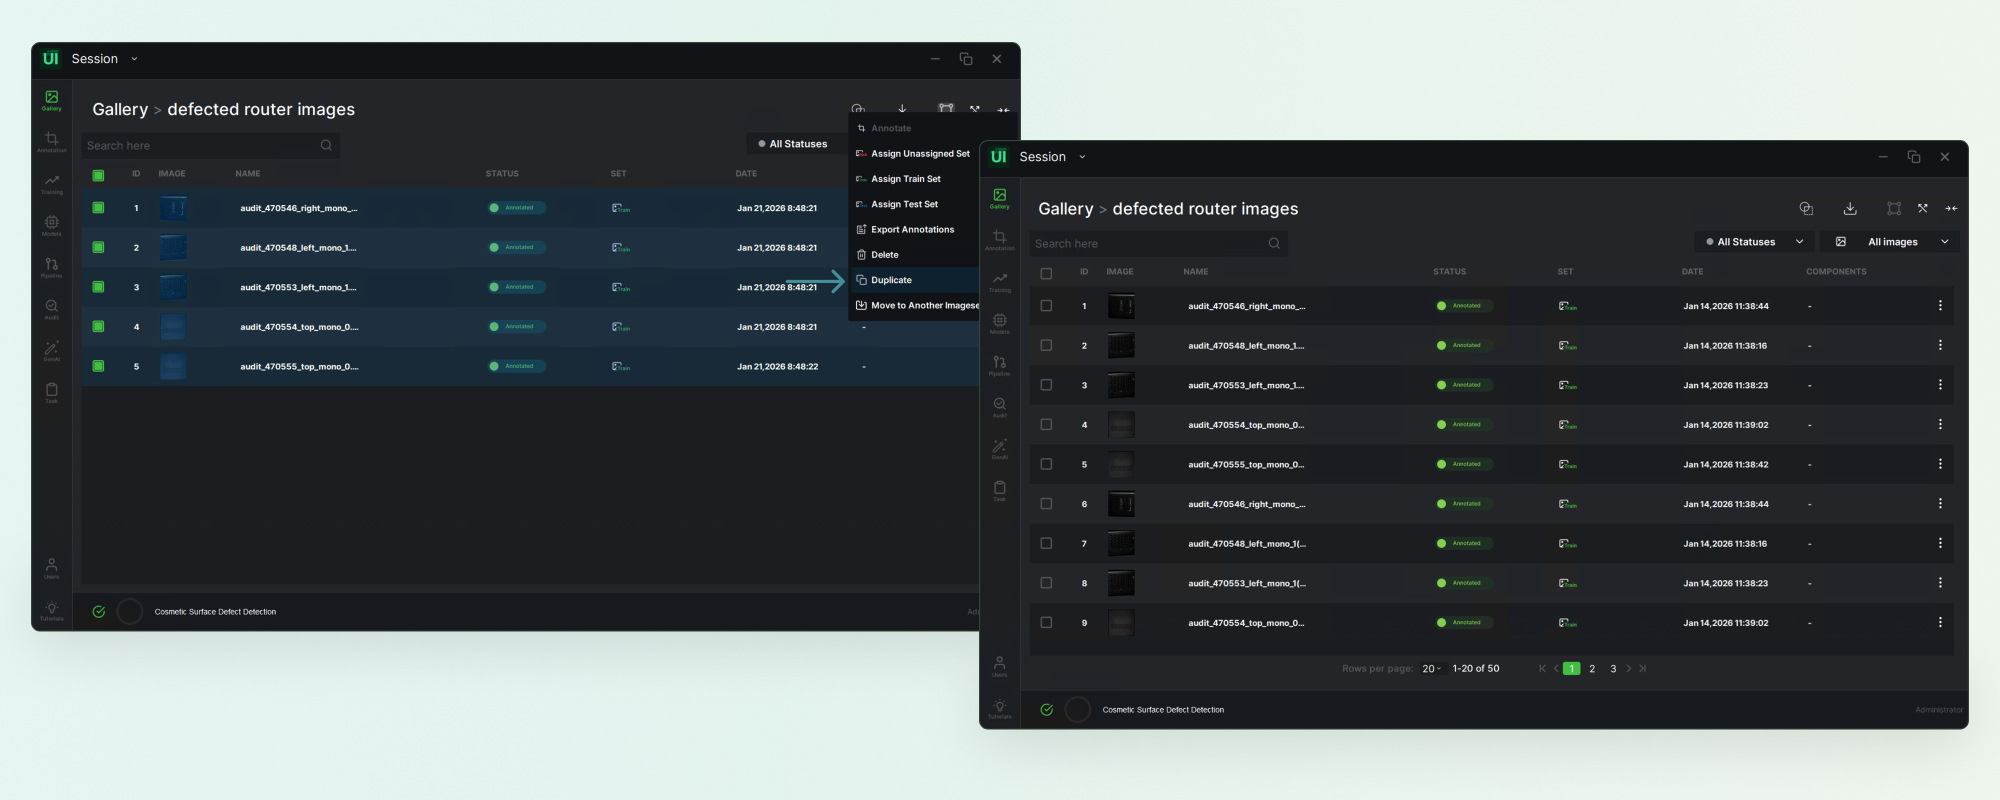
Expand the real defect dataset
The original real defect images are expanded slightly — for example to around 50 images — using duplication, so that genuine examples are not swamped by the far larger synthetic set.
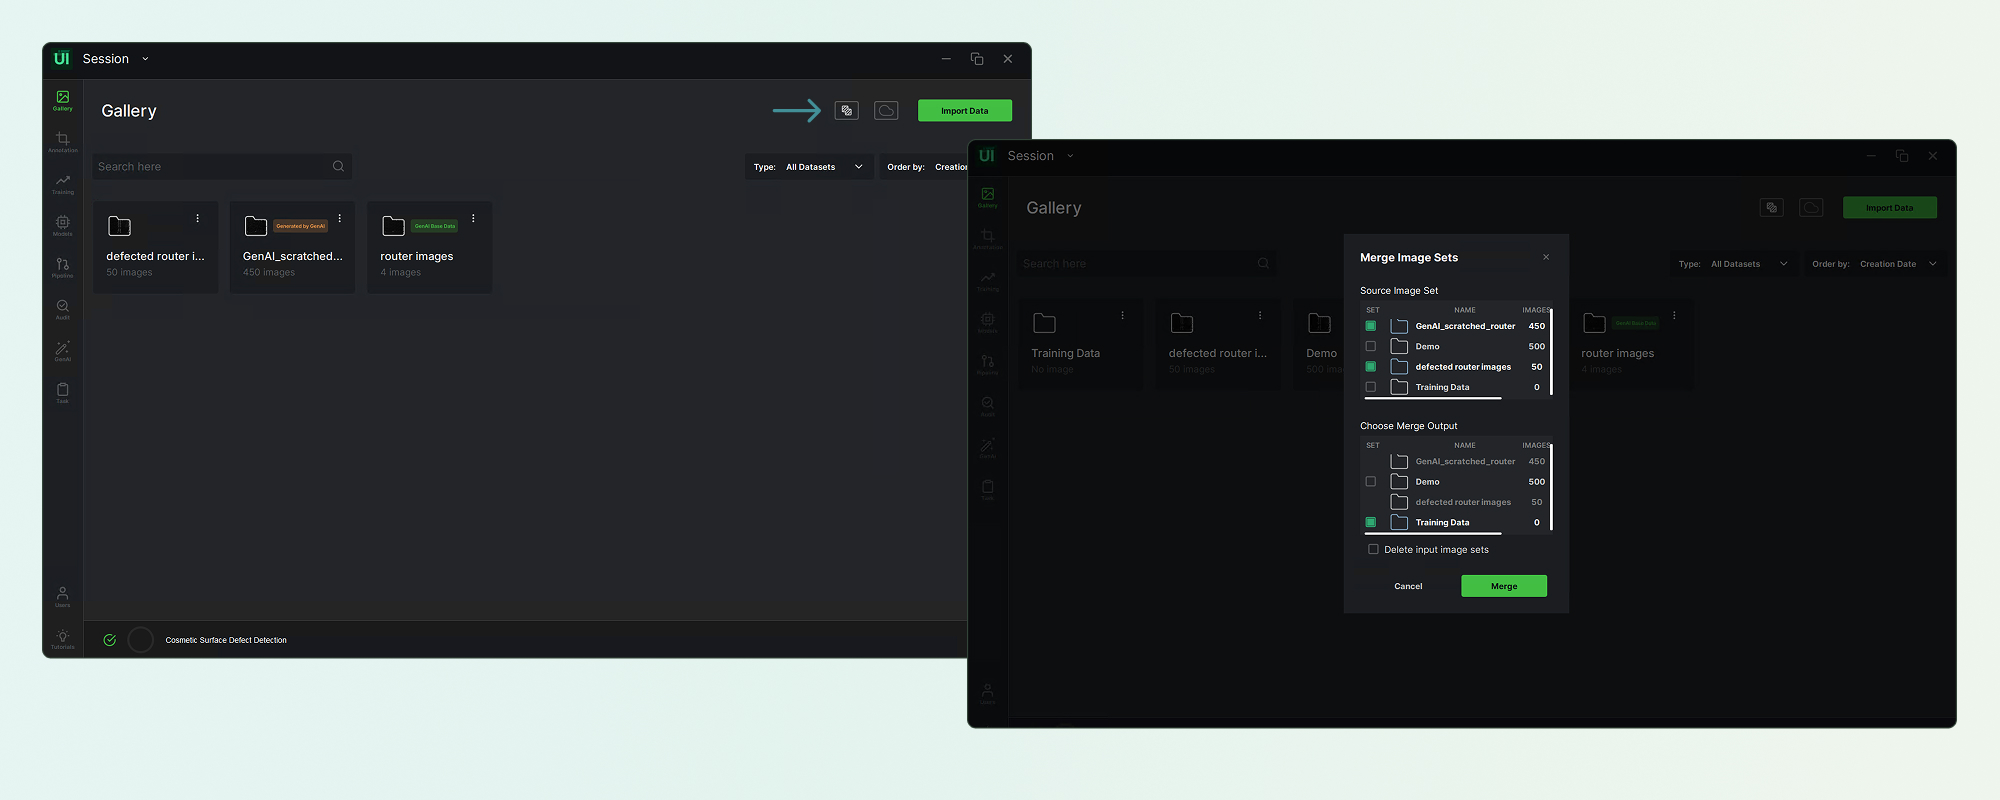
Merge synthetic and real data
Combine the three sets into the final training dataset.
- Synthetic defect images.
- Real defect images.
- Non-defective images.
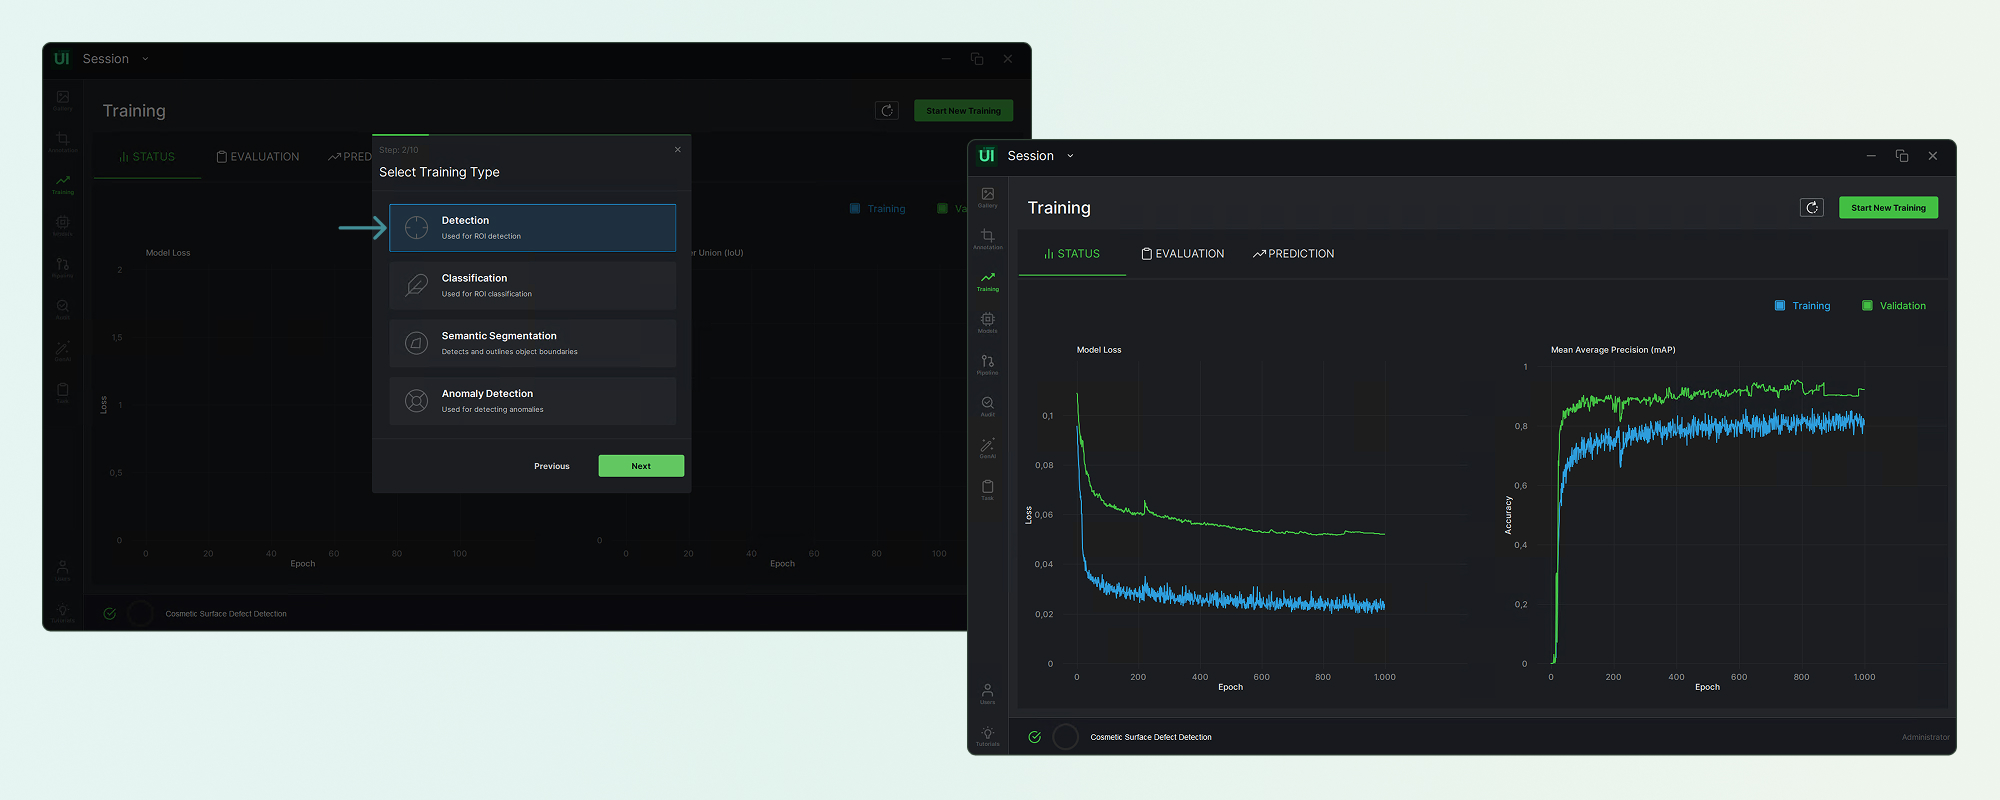
Train the inspection model
Train the inspection model using the merged dataset. Once trained, the model can perform three things on the line.
- Defect detection — is there a defect present?
- Defect localization — where on the part is it?
- Defect classification — which defect type is it?
Start from the defects you already have
Download ReliVision to run this workflow on your own parts, or explore workflows, training, deployment and synthetic data best practices in the Knowledge Hub.
Download ReliVision


