

How to Build AI Inspection with Our Intuitive UI
Most production inspection problems are not solved by one model. They are solved by a detector that finds the thing and a classifier that judges it, wired together in a pipeline. This guide builds that end to end in ReliUI without code, using silicon wafer defect detection as the worked example — download the annotated data, prepare two datasets, train two models, and connect them into a running pipeline.
- 6 steps
- 2 models — detector + classifier
- No code
- Sample dataset provided
Download annotated data
The sample dataset contains three types of silicon wafer, annotated in LabelMe format (JSON) as Good, Small Defect and Big Defect. It also contains unannotated images, so you can practise annotating from scratch by visiting our User Guide.
.jpg)
Prepare the dataset for the wafer defect detector
Prepare the detector training data by merging all defect annotations — regardless of type — into a single class labelled “Wafer”. At this stage you are not asking the model to tell defect types apart, only to find wafers.
.jpg)
Train the wafer defect detector
The first of the two models. Default parameters are the right choice for this use case — tuning comes later, once you have a baseline to compare against.
What to do
- Select Detection as the model type.
- Choose the annotated dataset prepared in the previous step.
- Proceed with the default parameters for this use case.
- Once the data is synchronised, click Start Training.
.jpg)
Prepare the dataset for the wafer defect classifier
The classifier works on individual wafer cells rather than whole images, so its dataset is cropped. The supplied dataset already has rectangular annotations with three label types — Good, Small and Big — and the recommended approach is to extract those annotations using ReliVision rather than cropping by hand.
.jpg)
Train the wafer defect classifier
The second model. Same flow as the detector, different model type — and this time you watch the training curves, because classification accuracy is what the pipeline's verdict ultimately rests on.
What to do
- Select Classification as the model type.
- Choose the annotated cell-level dataset from the previous step.
- Proceed with the default parameters for this use case.
- Once the data is synchronised, click Start Training.
- Review Model Loss and Model Accuracy in real time as training runs.
.jpg)
Build and run the pipeline
The two models become one inspection system in the Pipeline Editor. You drag AI and Basic blocks onto the canvas and wire them in sequence — detector first to find the wafers, classifier second to judge each one.
What to do
- Open the Pipeline Editor and construct the workflow by dragging and dropping AI and Basic blocks.
- Select an input data source — your raw dataset.
- Connect the Detection model, then the defect Classification model after it, in sequence.
- Run the pipeline. The Prediction page displays the results.
- Click the save icon to store the outputs, then compare them against the raw dataset.
.jpg)
What else this pattern builds
The detector-then-classifier pattern you just built is not specific to wafers. These inspection use cases all rely on the same combination of object detection and classification to locate targets and then determine their category, condition or type.
https://www.mvtec.com/research-teaching/datasets/mvtec-ad
.jpg)
Logistics — package damage inspection
Object detection and classification together identify parcels automatically and assess their damage status and type, supporting early detection and improved operational efficiency.
.jpg)
Manufacturing — surface defect detection
A classifier first performs binary inference to identify defective metal nuts, after which an object detection model localises and categorises the defects into scratch, bent and colour classes.
.jpg)
Agriculture — plant disease detection
A detector identifies the plant type — potato or apple, for example — followed by a classifier that determines whether a disease is present and, if so, which type.
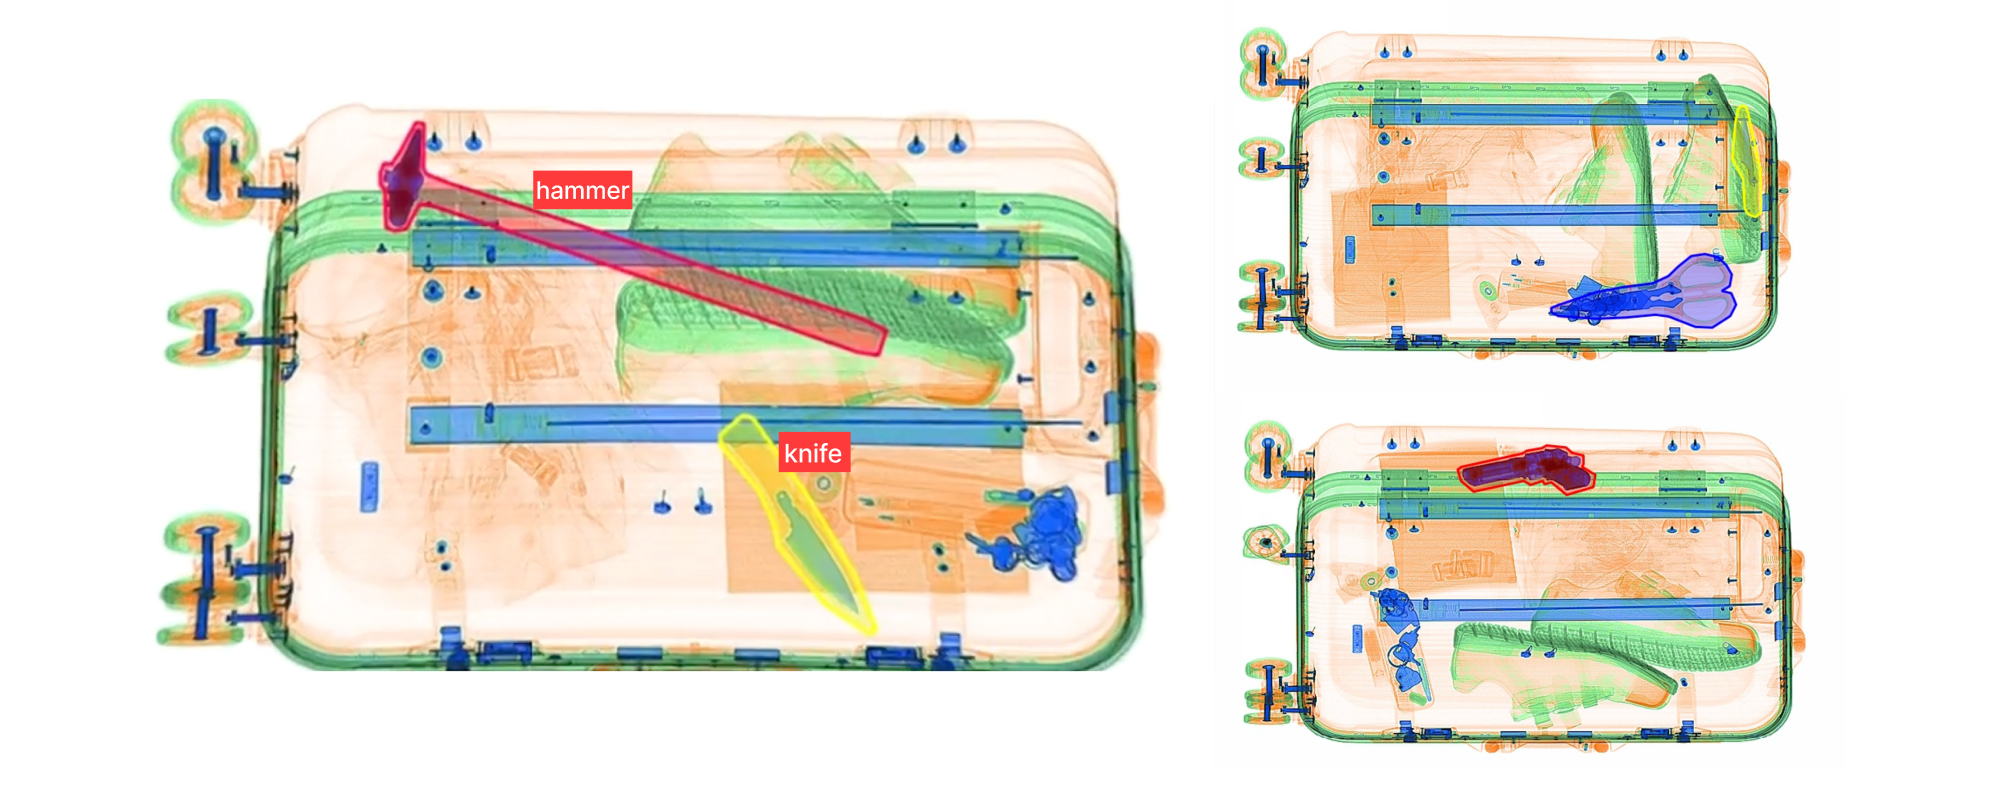
Security — threat object detection
X-ray baggage images are first analysed to determine whether any dangerous items are present, followed by classification of the detected items — knife, scissors, gun.
Use Case
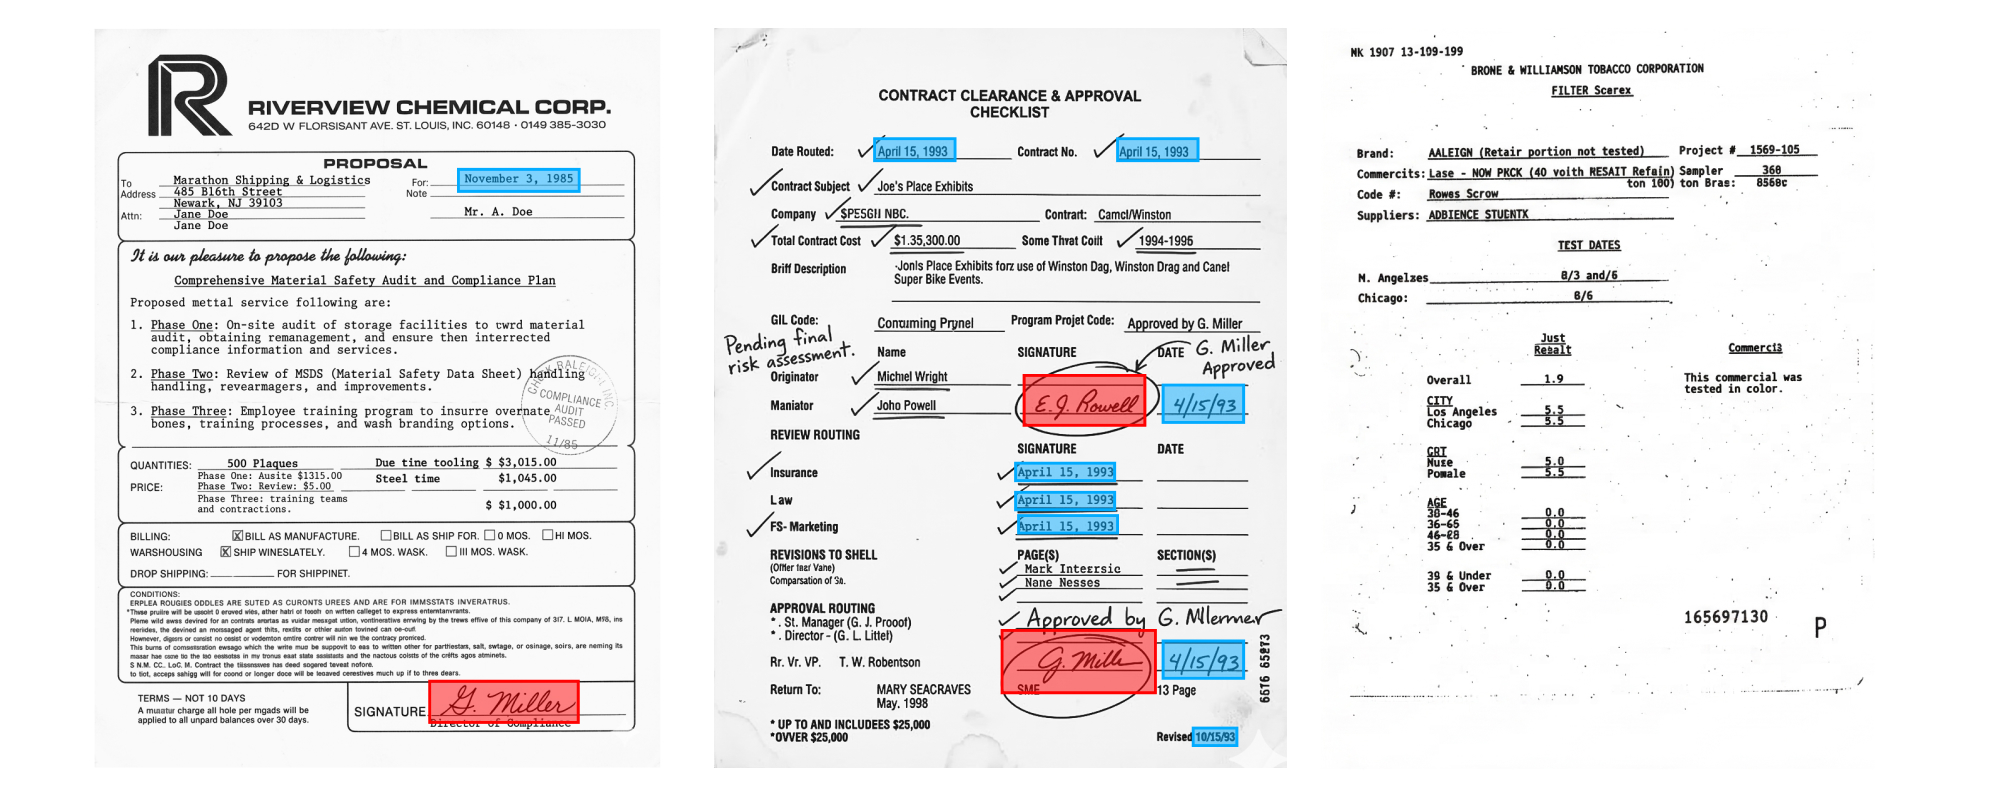
Document processing — ID and form analysis
Document regions such as text blocks and signatures are detected, followed by classification of field types and identification of any missing or incomplete fields.
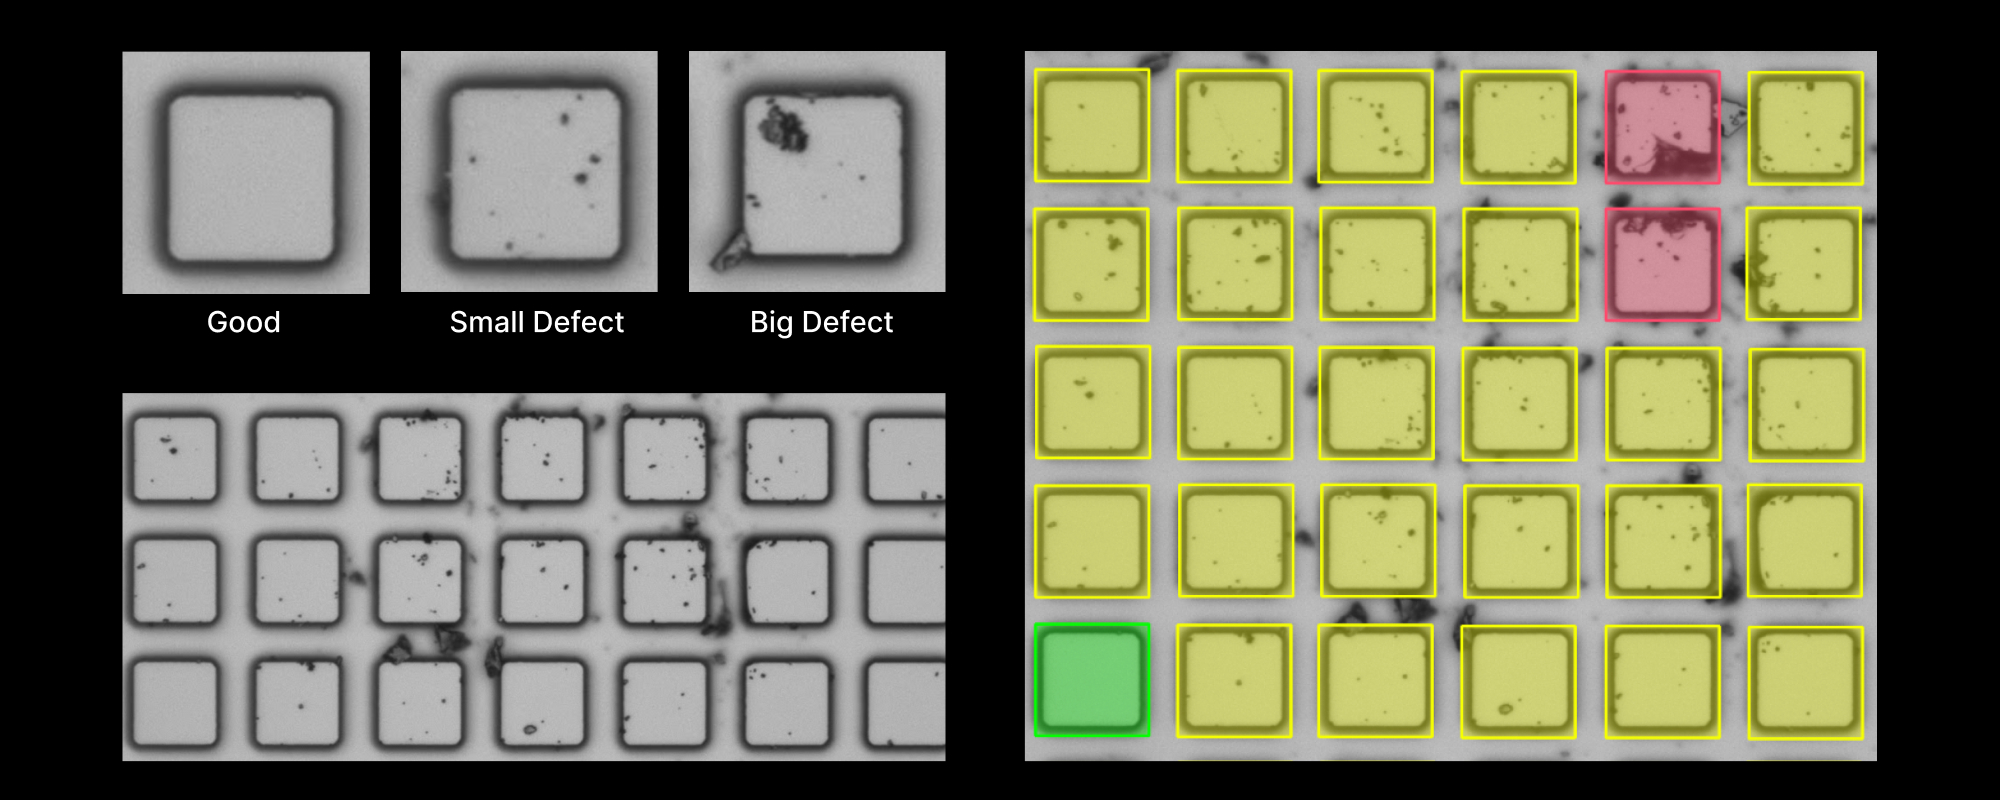
Manufacturing — silicon wafer defect detection
The worked example in this guide. The system first identifies silicon wafers, then classifies them into Good, Small Defect and Big Defect categories using a detection model followed by a classification model.
Use Case
Build your first pipeline
Download ReliVision and work through this guide on the sample wafer dataset, then swap in your own images.
Download ReliVision


