

Experience ReliVision in Action—With Your Own Data
Using your own data, we’ll show you how to build, deploy and maintain your own AI-powered inspection solutions with ReliVision without writing a single line of code.
The training process consists of the following steps:
✓ Step 1: Select Training Tab
From the side context menu, select the Training tab in order to start the training configuration process. Click ‘Start Training’ button on the top right corner.
✓ Step 2: Select a Roadmap
With this step, the user will be doing settings for the training. Firstly, the user can choose a roadmap. The following steps are changing slightly whether it is first training or retraining. For this use case first training is selected.

✓ Step 3: Select a Training Server
In this step, the user can choose the training server to perform the training on. Once selected, click on the Connect button. The task will be added to the queue if there is a queue in the selected backend. When the queue is done, the task will be performed automatically. For this use case, a local backend is selected.

✓ Step 4: Select Model Use
During this step, the user can choose the type of the model to perform the training on. It can be suitable for Detection, Classification, Semantic Segmentation or Instance Segmentation then click on the next button to move to the next step. For this use case detection is selected.

✓ Step 5: Select Image Set
An image set can be chosen among the existing ones. Image sets should be splitted to proceed. If there is an image that has not splitted before, user can click on it and split it automatically.

✓ Step 6: Select Component
Components can be selected among the existing ones. Once decided, click on Next.
✓ Step 7: Set Base Parameters
Detecting the optimal parameters for the training may take a while. After the detection is completed, the user can see the optimal settings for the training. The user can also change the settings under ‘Advanced Options’.

✓ Step 8: Select Architecture
In this step, two options are available for the user as Basic and Advanced. In the Basic tab, recommended range is given for the training. User can define the maximum time. With this information, optimal parameters will be calculated and applied for the training. Please keep in mind that roughly, longer time brings more accurate results.

In the Advanced tab, estimated inference time is already calculated for given architectures. There are several use cases for this step.
- User can select the architecture and click Next if they exactly know which architecture to use without diagnosing.
- The user can select one of the architectures, click Next and start diagnosing for the selected one.
- The user can diagnose all the architectures. This process may take longer.
Diagnosing is recommended for this step. Diagnosing proves that your local resources are sufficient and calculates the training time.

✓ Step 9: Set Training Parameters
Detecting the optimal parameters for the training may take a while. When the detection is done the optimal parameters are set. This part includes hyperparameters and augmentation parameters. The user can also change the settings under ‘Advanced Options’.

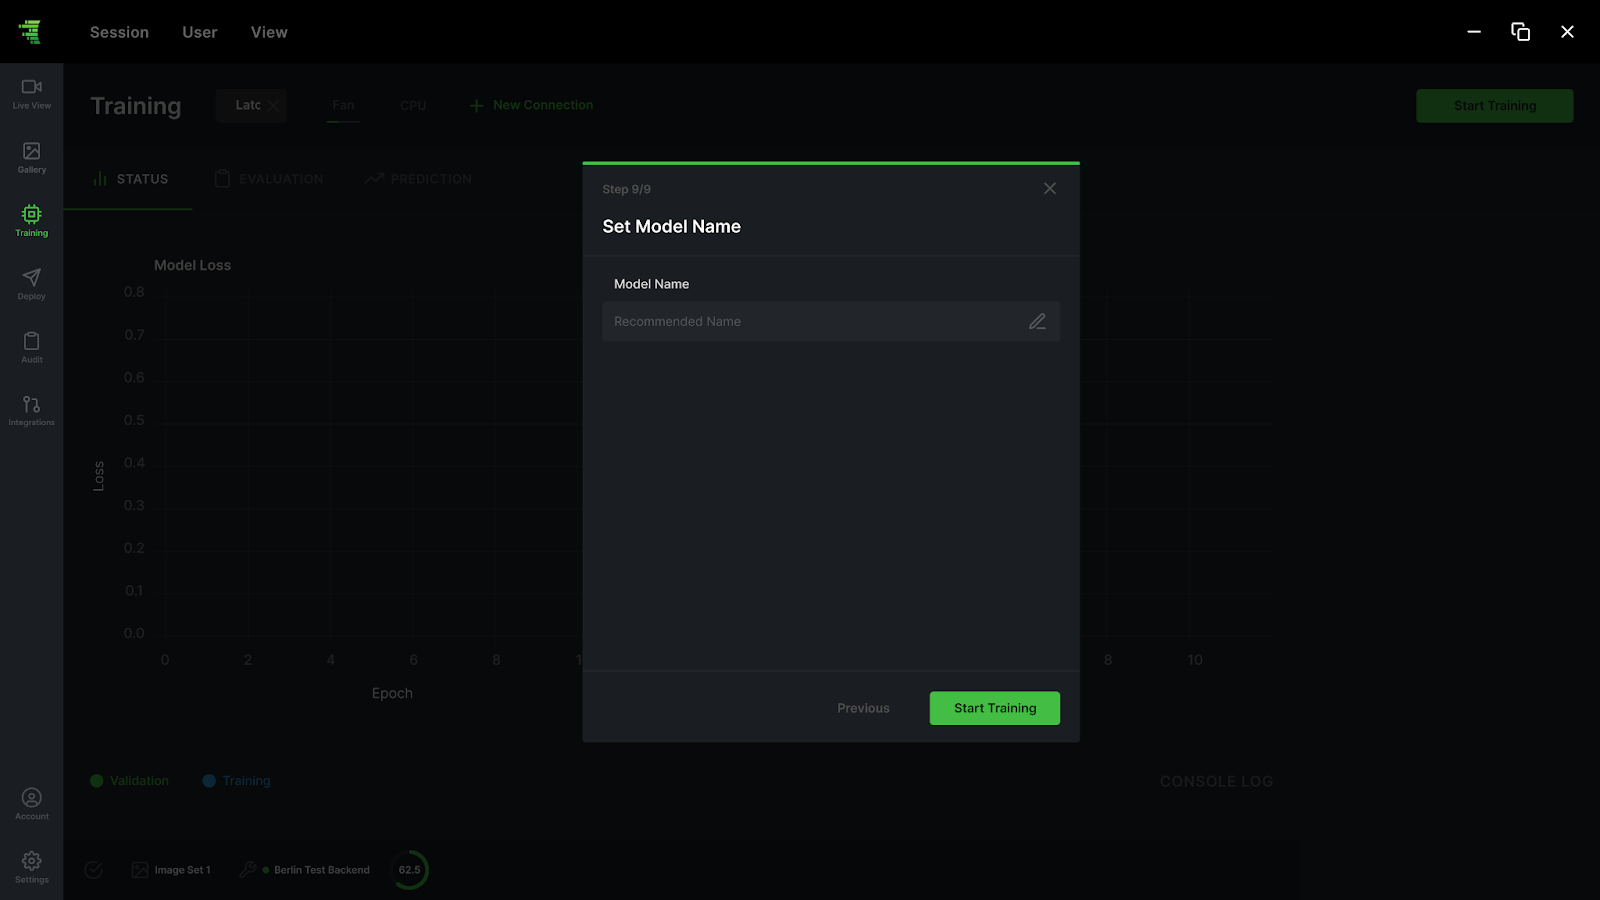
✓ Step 10: Set Model Name
A new model name should be defined in this step.User can use the recommended name or create a new name for the model. Once entered, click on Next.
✓ Step 11: Training Summary
At the end of the training configuration, it is possible to visualize the summary of the training. If something is not correctly set up, there is the option to click on the previous button to go back to the previous steps and apply the required changes. Once everything is correctly set, click on the Start training button to start the training process.
✓ Step 12: Start Training
Click on the Start Training button in order to start the training configuration process. The Training process will be shown.
While the training progresses, the user can see model loss and IoU (Intersection over Union) plots in real time. These plots are used to determine how well the training is proceeding. In a successful training session, the model loss graph is expected to converge to 0 and model accuracy to 1. If these graphs do not converge and show irregular behavior, this indicates that the training is not proceeding as expected. Possible reasons for an unsuccessful training session are user mistakes during annotations and/or not having enough images to train the model. At any time, a training session can be stopped and annotations can be reviewed in the gallery screen.

✓ Step 13: Start Evaluation
Once the training is complete, a pop-up window will be displayed stating that the Training is finished. After Clicking on the Check Details button, the view switches to the Evaluation Tab, which shows training statistics, including the total number of training images used, total loss, false positives, calculation time and the number of classes used.
