

Experience ReliVision in Action—With Your Own Data
Using your own data, we’ll show you how to build, deploy and maintain your own AI-powered inspection solutions with ReliVision without writing a single line of code.
Create/Import Dataset
a. Create a dataset from scratch
✓ Step 1: Create a dataset to be annotated
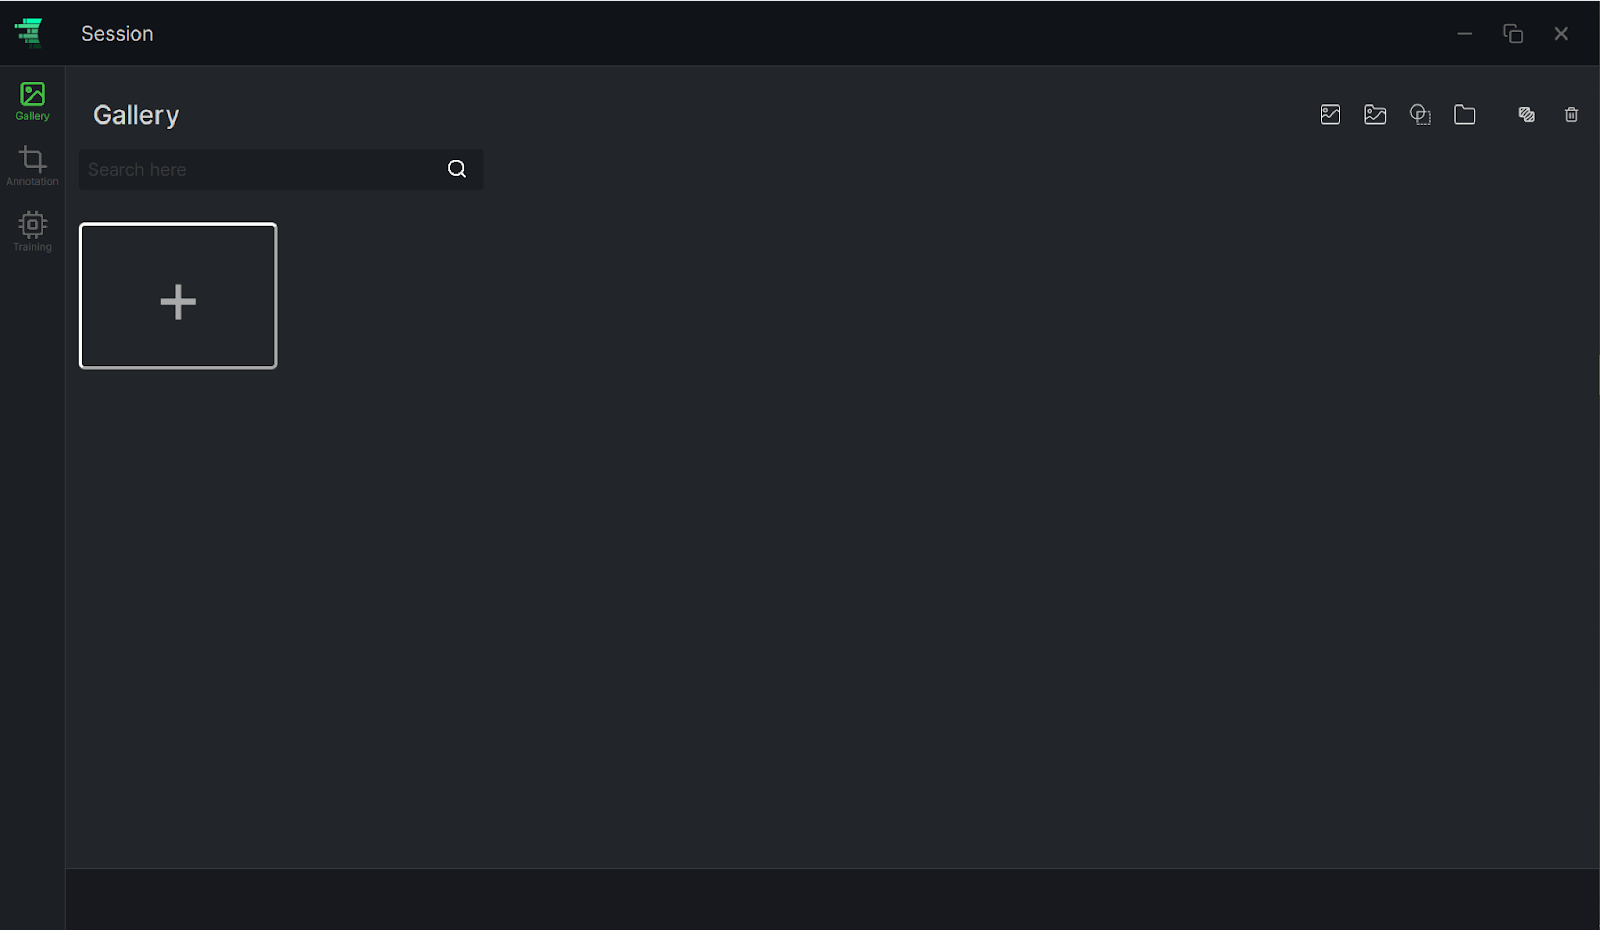
Inside the image gallery Folder View page, click on the Add (+) Icon to import data. To rename the folder, click on the Context Menu Icon (

) of the folder and select Rename. Type the desired folder name then press Enter.
If the Image set folder already exists, this step can be skipped and the existing image set folder can be directly accessed.
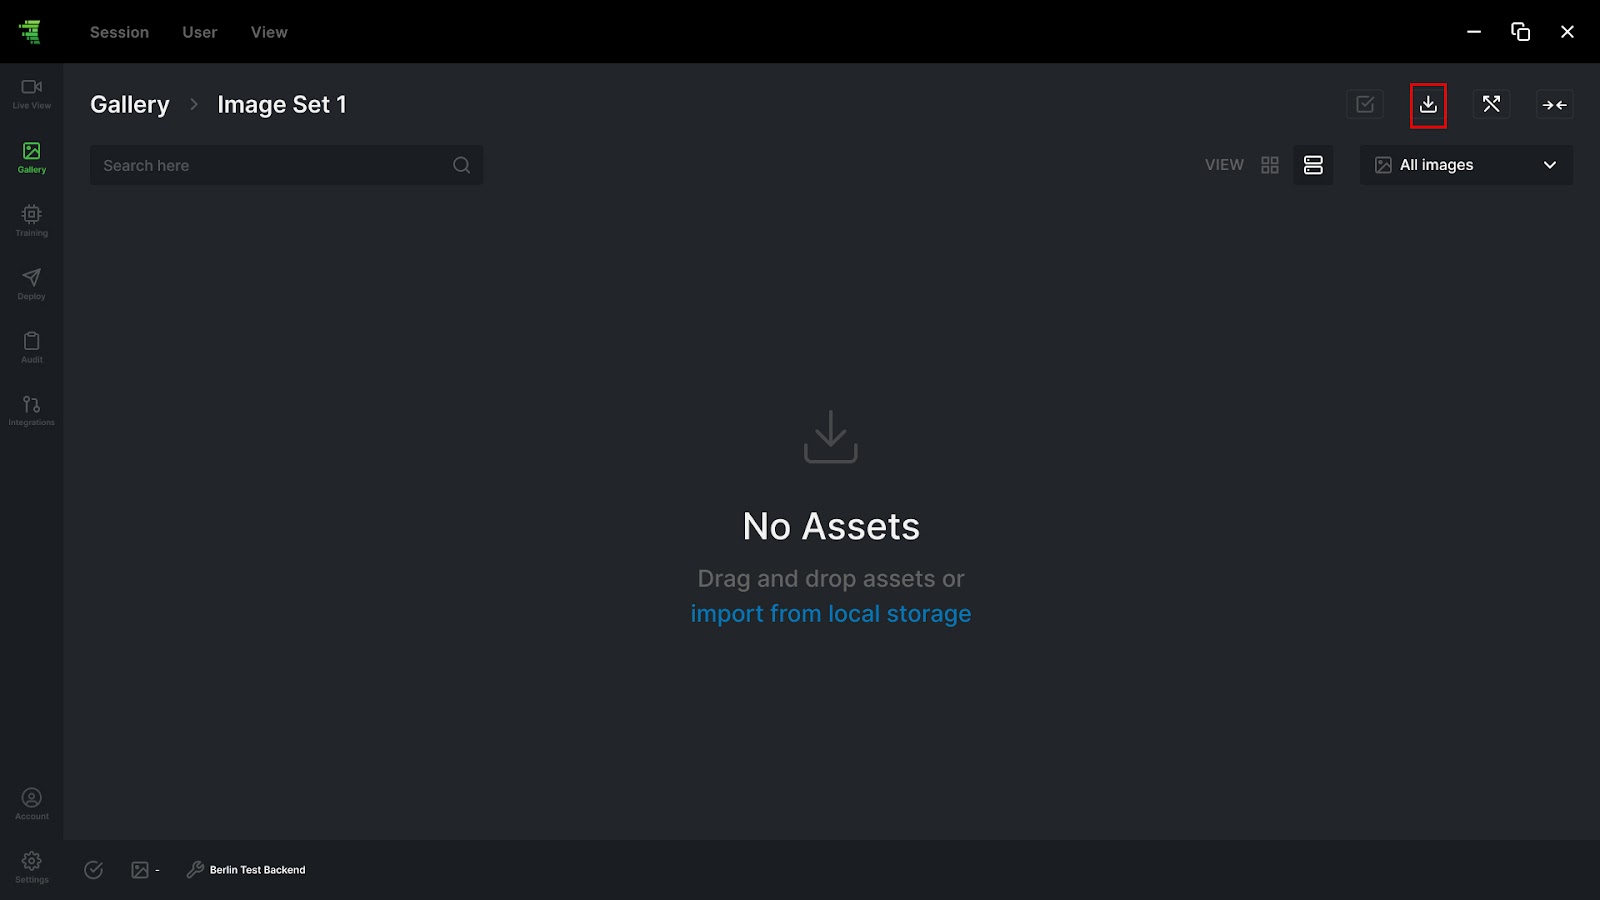
✓ Step 2: Load Images into the Dataset
Select the created Dataset by double clicking on it, then click on the Load new Images Icon on the top right of the screen. From the Windows File Dialog, you can then select the desired images to load in order to proceed with the annotation.
b. Import Data
Images, image folders, annotated datasets and empty folders can be added in this step. If there is a dataset that has already been annotated, it can be directly imported without the need of creating a new one from scratch. Once imported, annotations can still be modified or directly used for the training process.
Importing annotated dataset consists of the following steps:
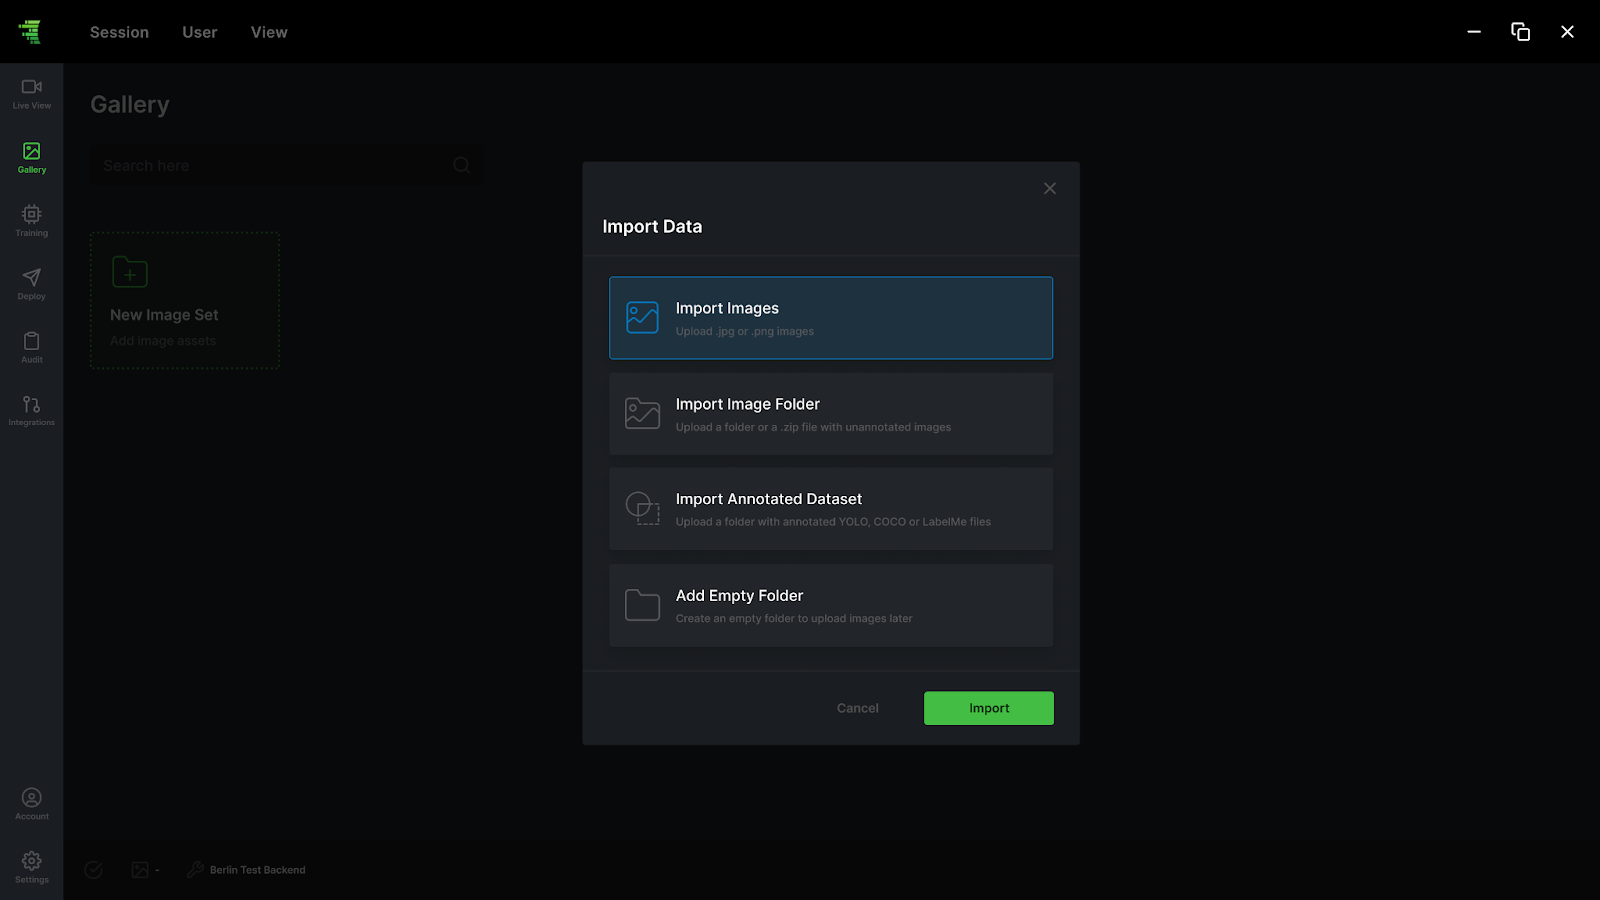
✓ Step 1: Start Importing
In theImport data dialog, click on the Import Annotated Dataset.
✓ Step 2: Select the type of annotated datasets to import
Depending on the existing type of datasets files to import (Fig.8) , choose between the following three options.
- LabelMe: Select a folder containing the annotations
- COCO: Select an annotation json file
- YOLO: Select an obj.data file
Then click on Import.

✓ Step 3: Select the File to import
From the Windows File Dialog, select the file/folder to import then click on Open.
An image set folder will be then created. It can be renamed and additional images can be added to the existing dataset if needed.
Once the data is imported, the annotation process can be started via the annotation screen.