The task is to detect scratches from router images. This is a two-class Object Detection task where classes are “scratch_normal” and “scratch_wide”.
Dataset:
The dataset contains 167 images that contain two potential scratches. There are 2 types of scratches, all annotated in Label Me format, as depicted below.
.jpg)
Data Loading & Annotation:
You have 2 options:
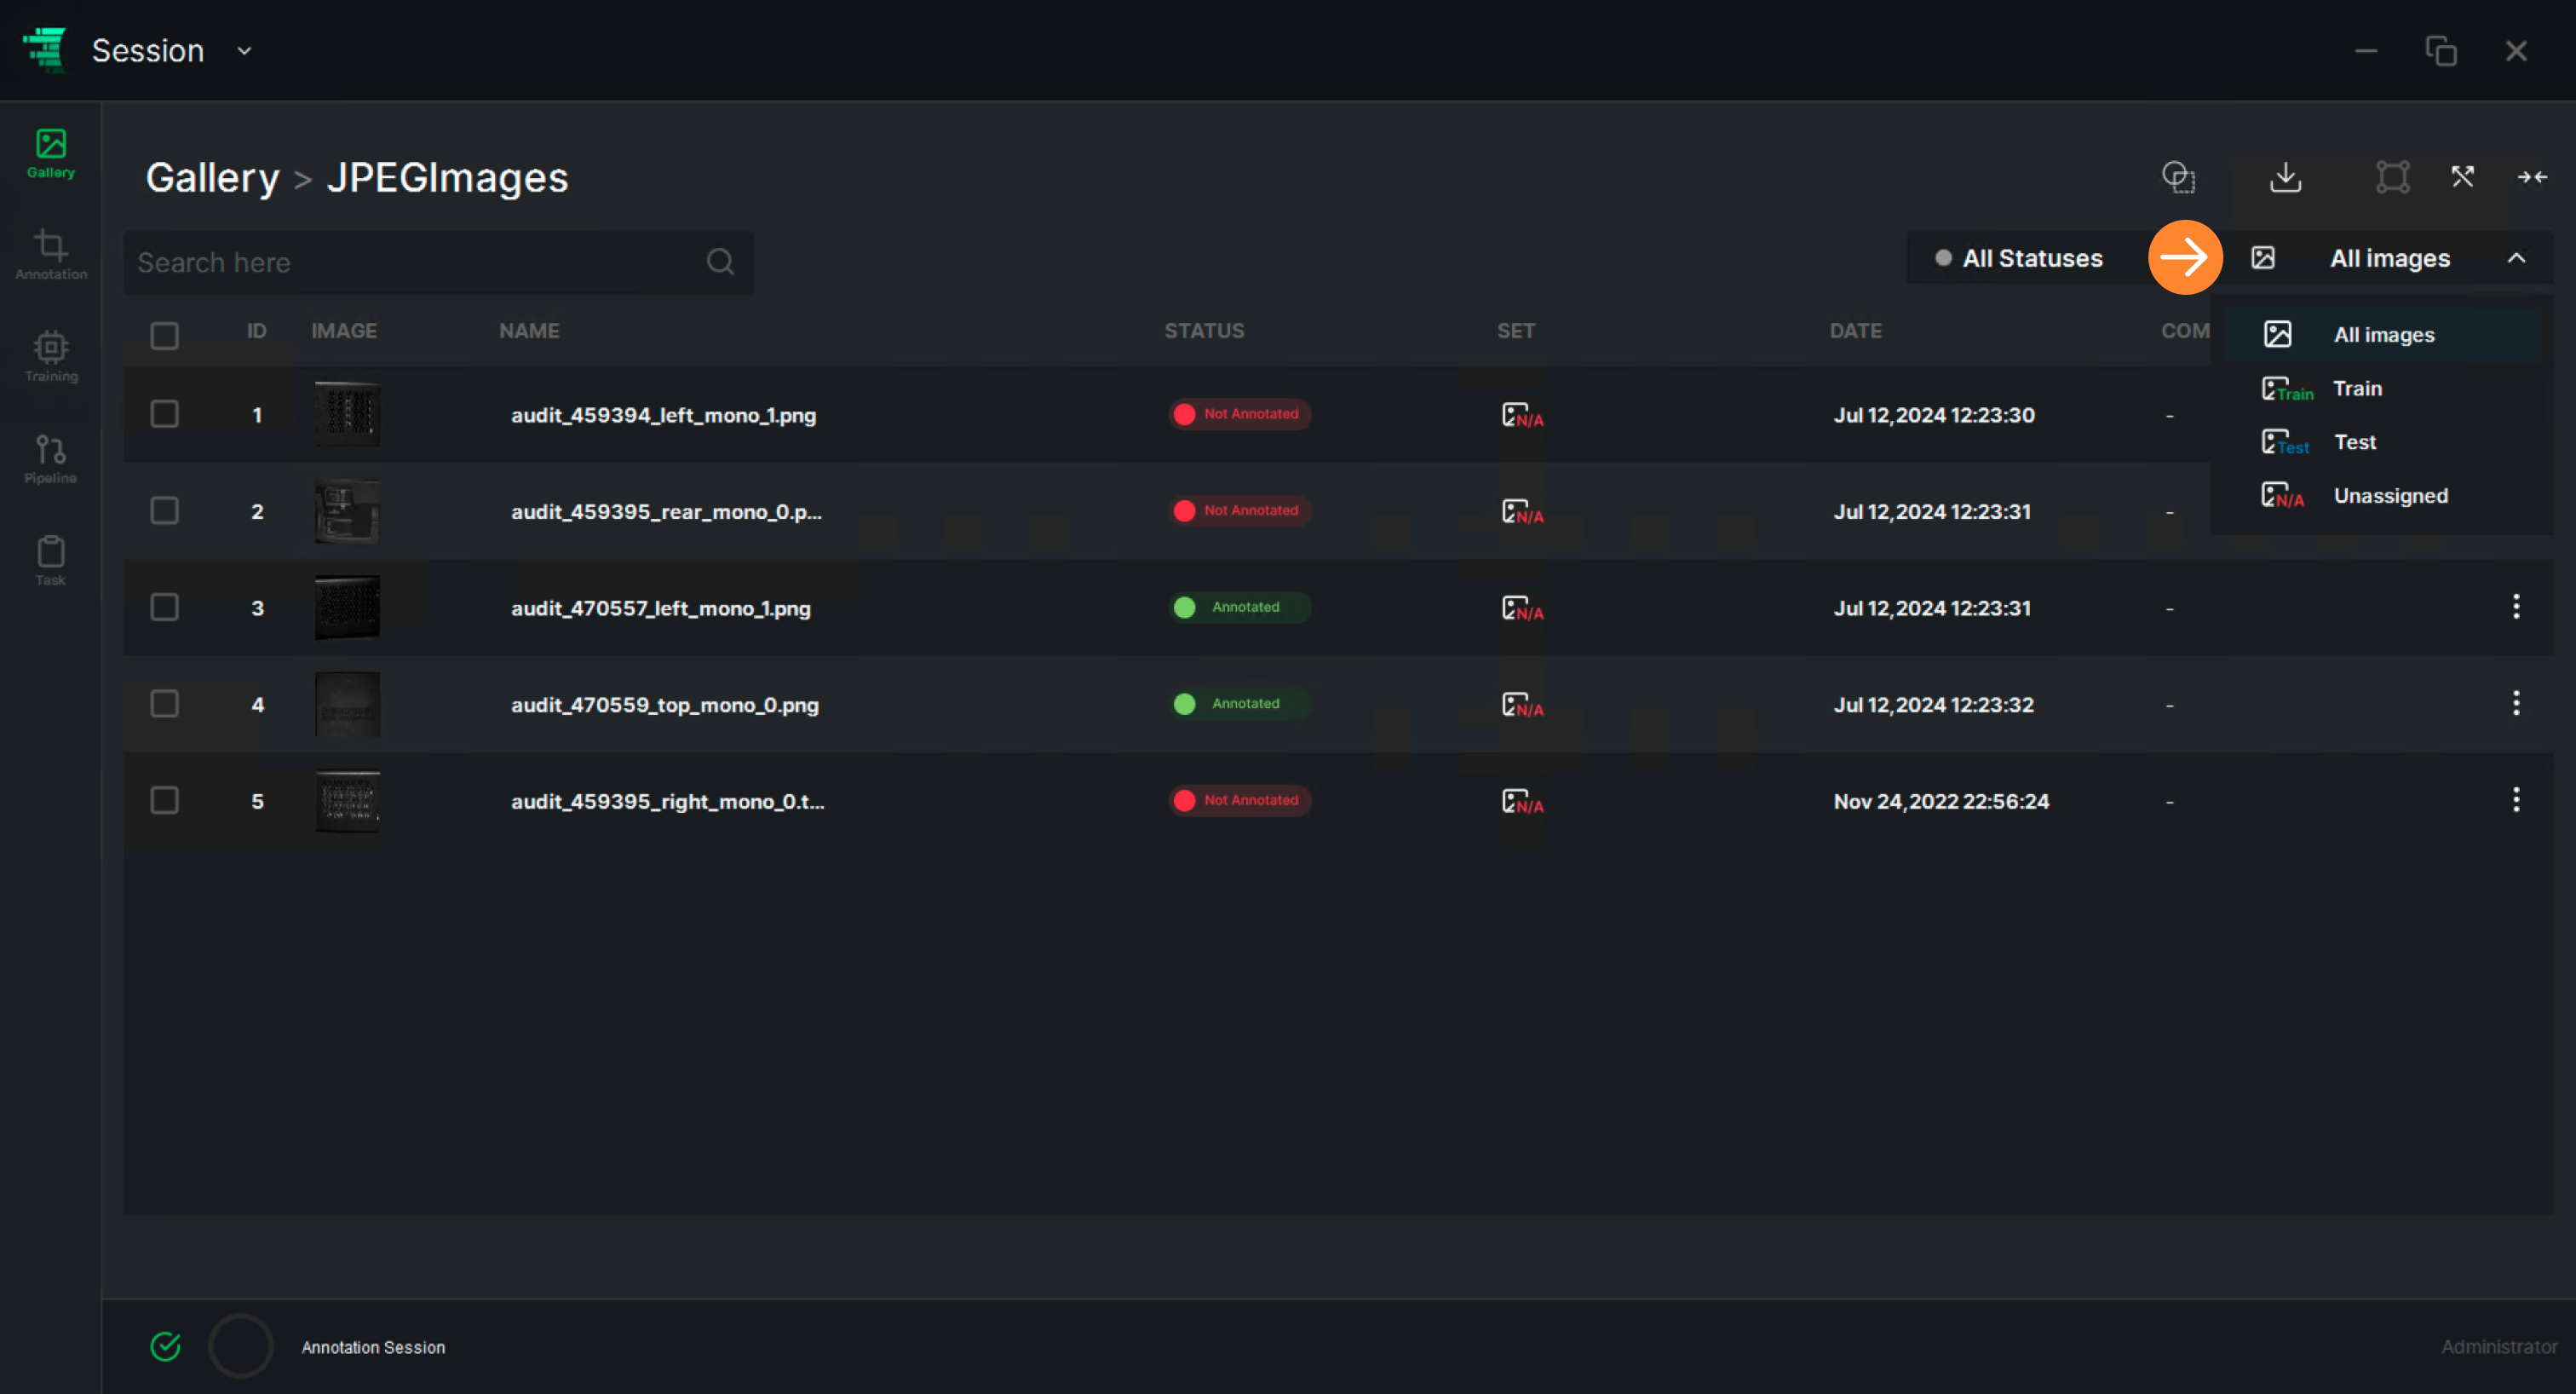
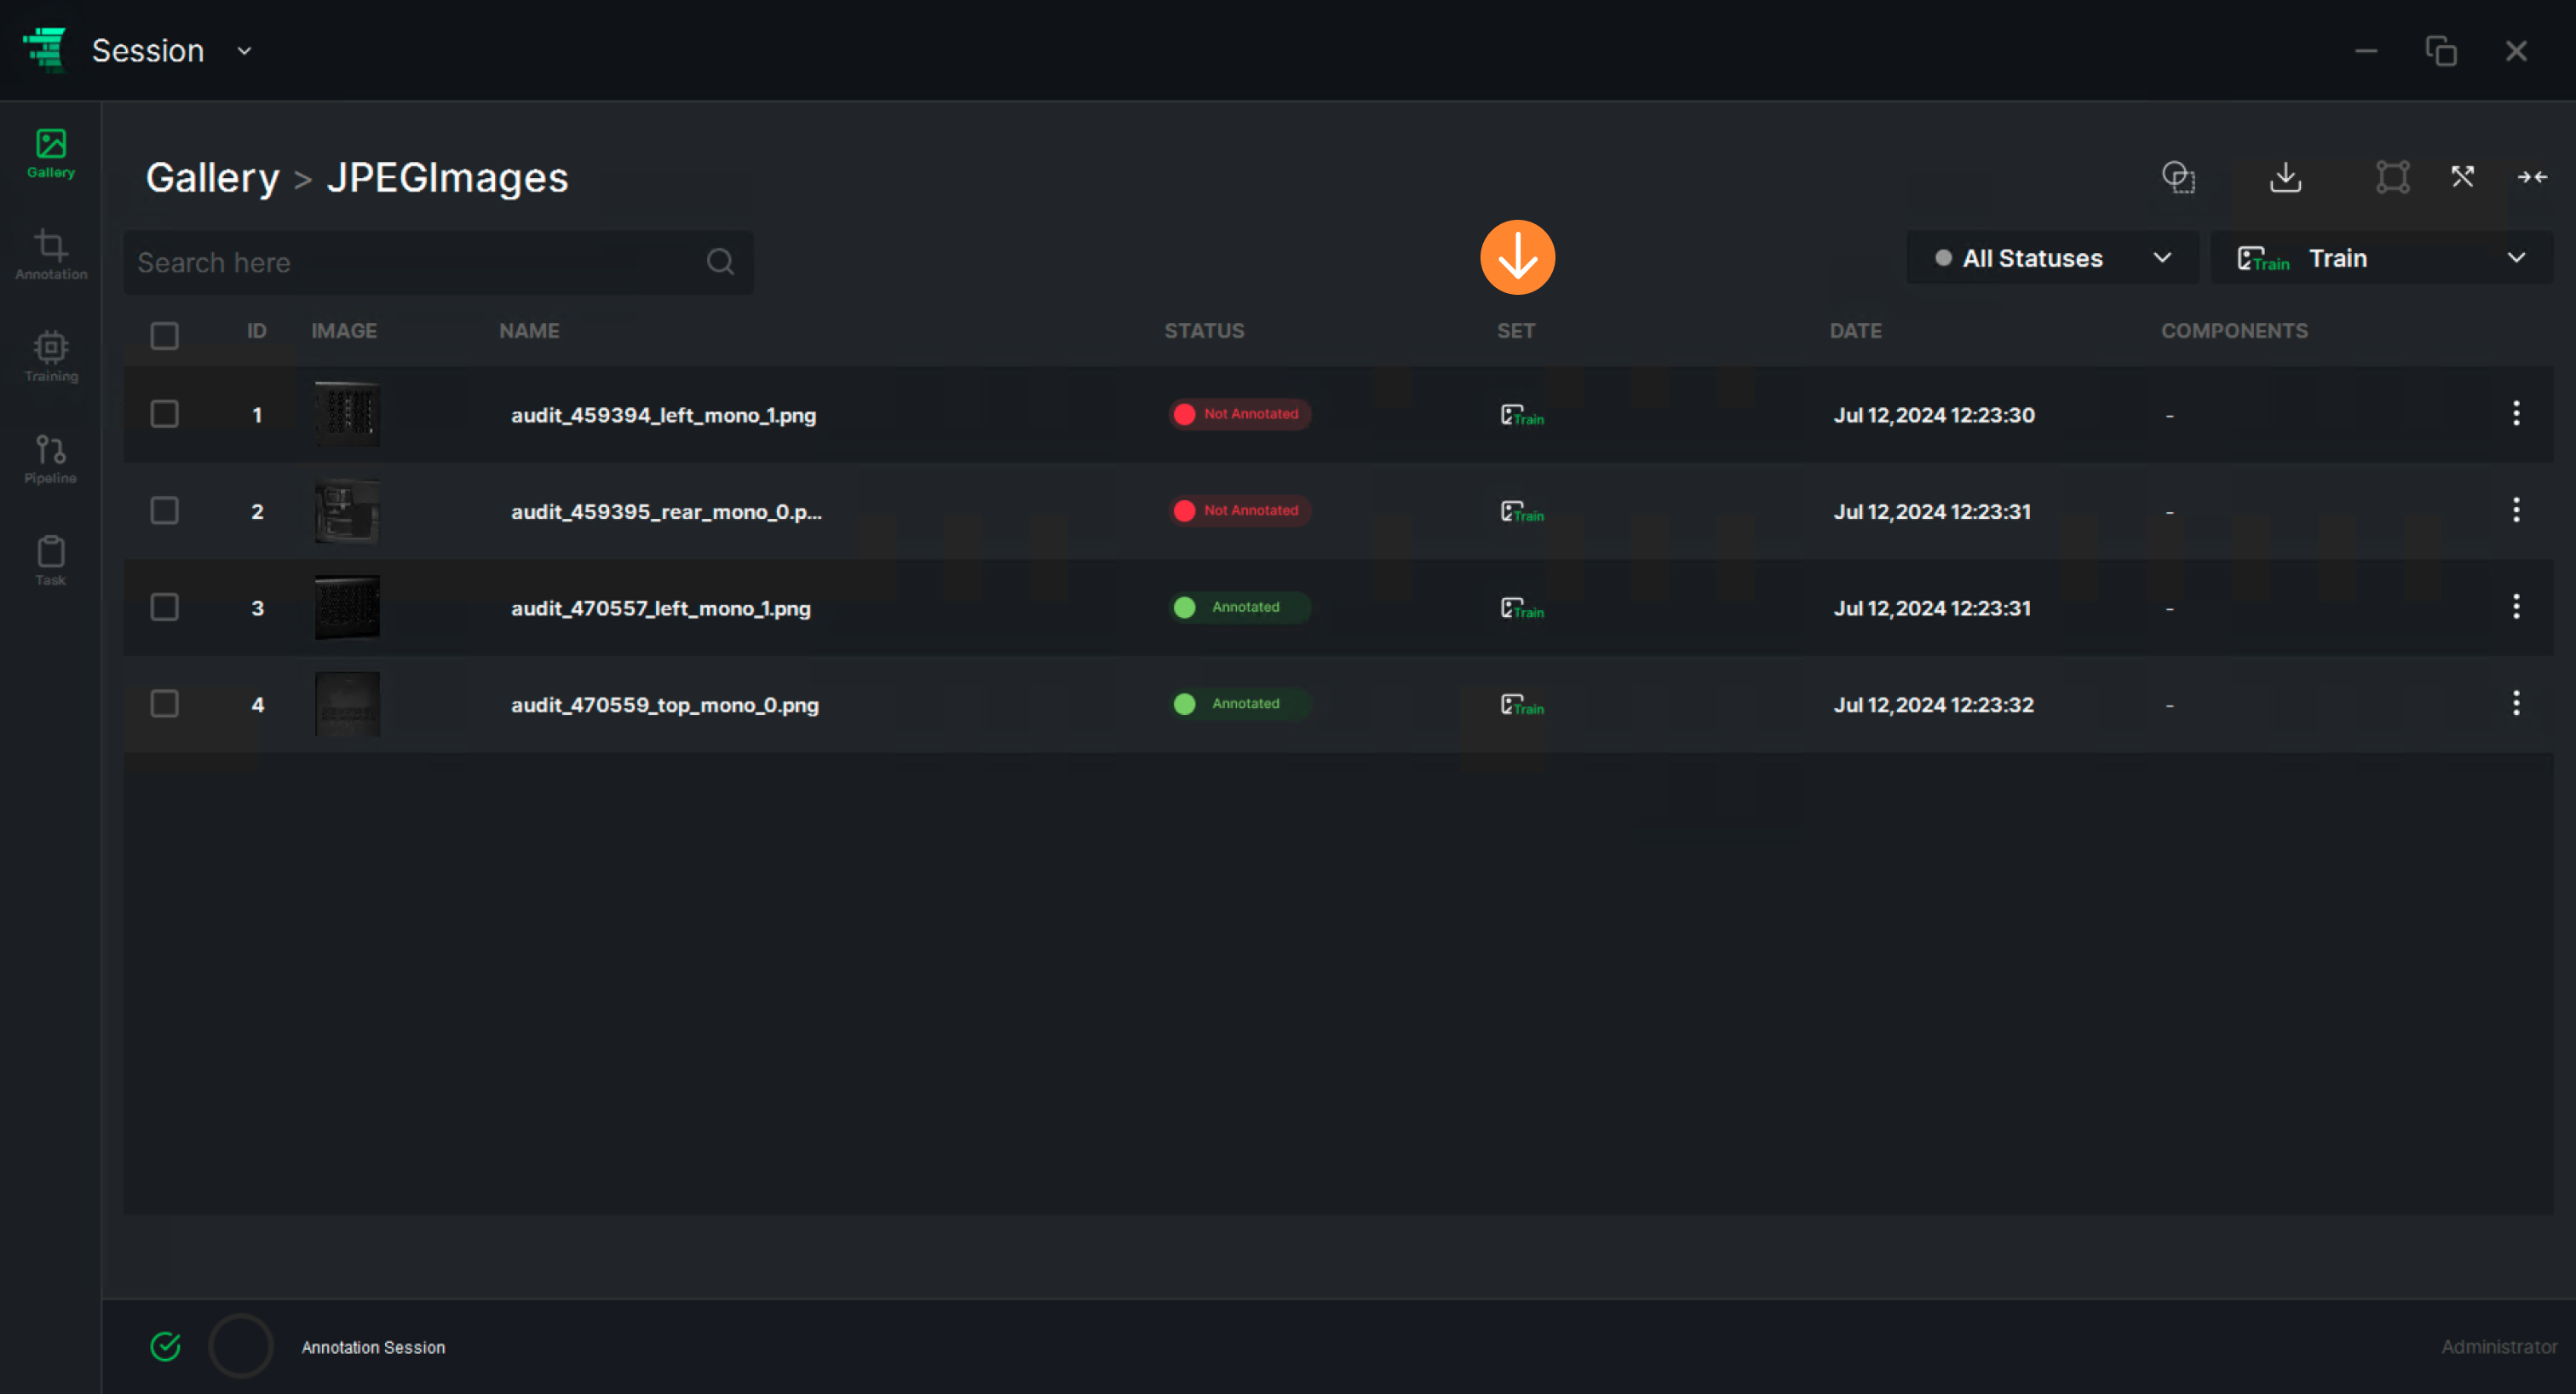
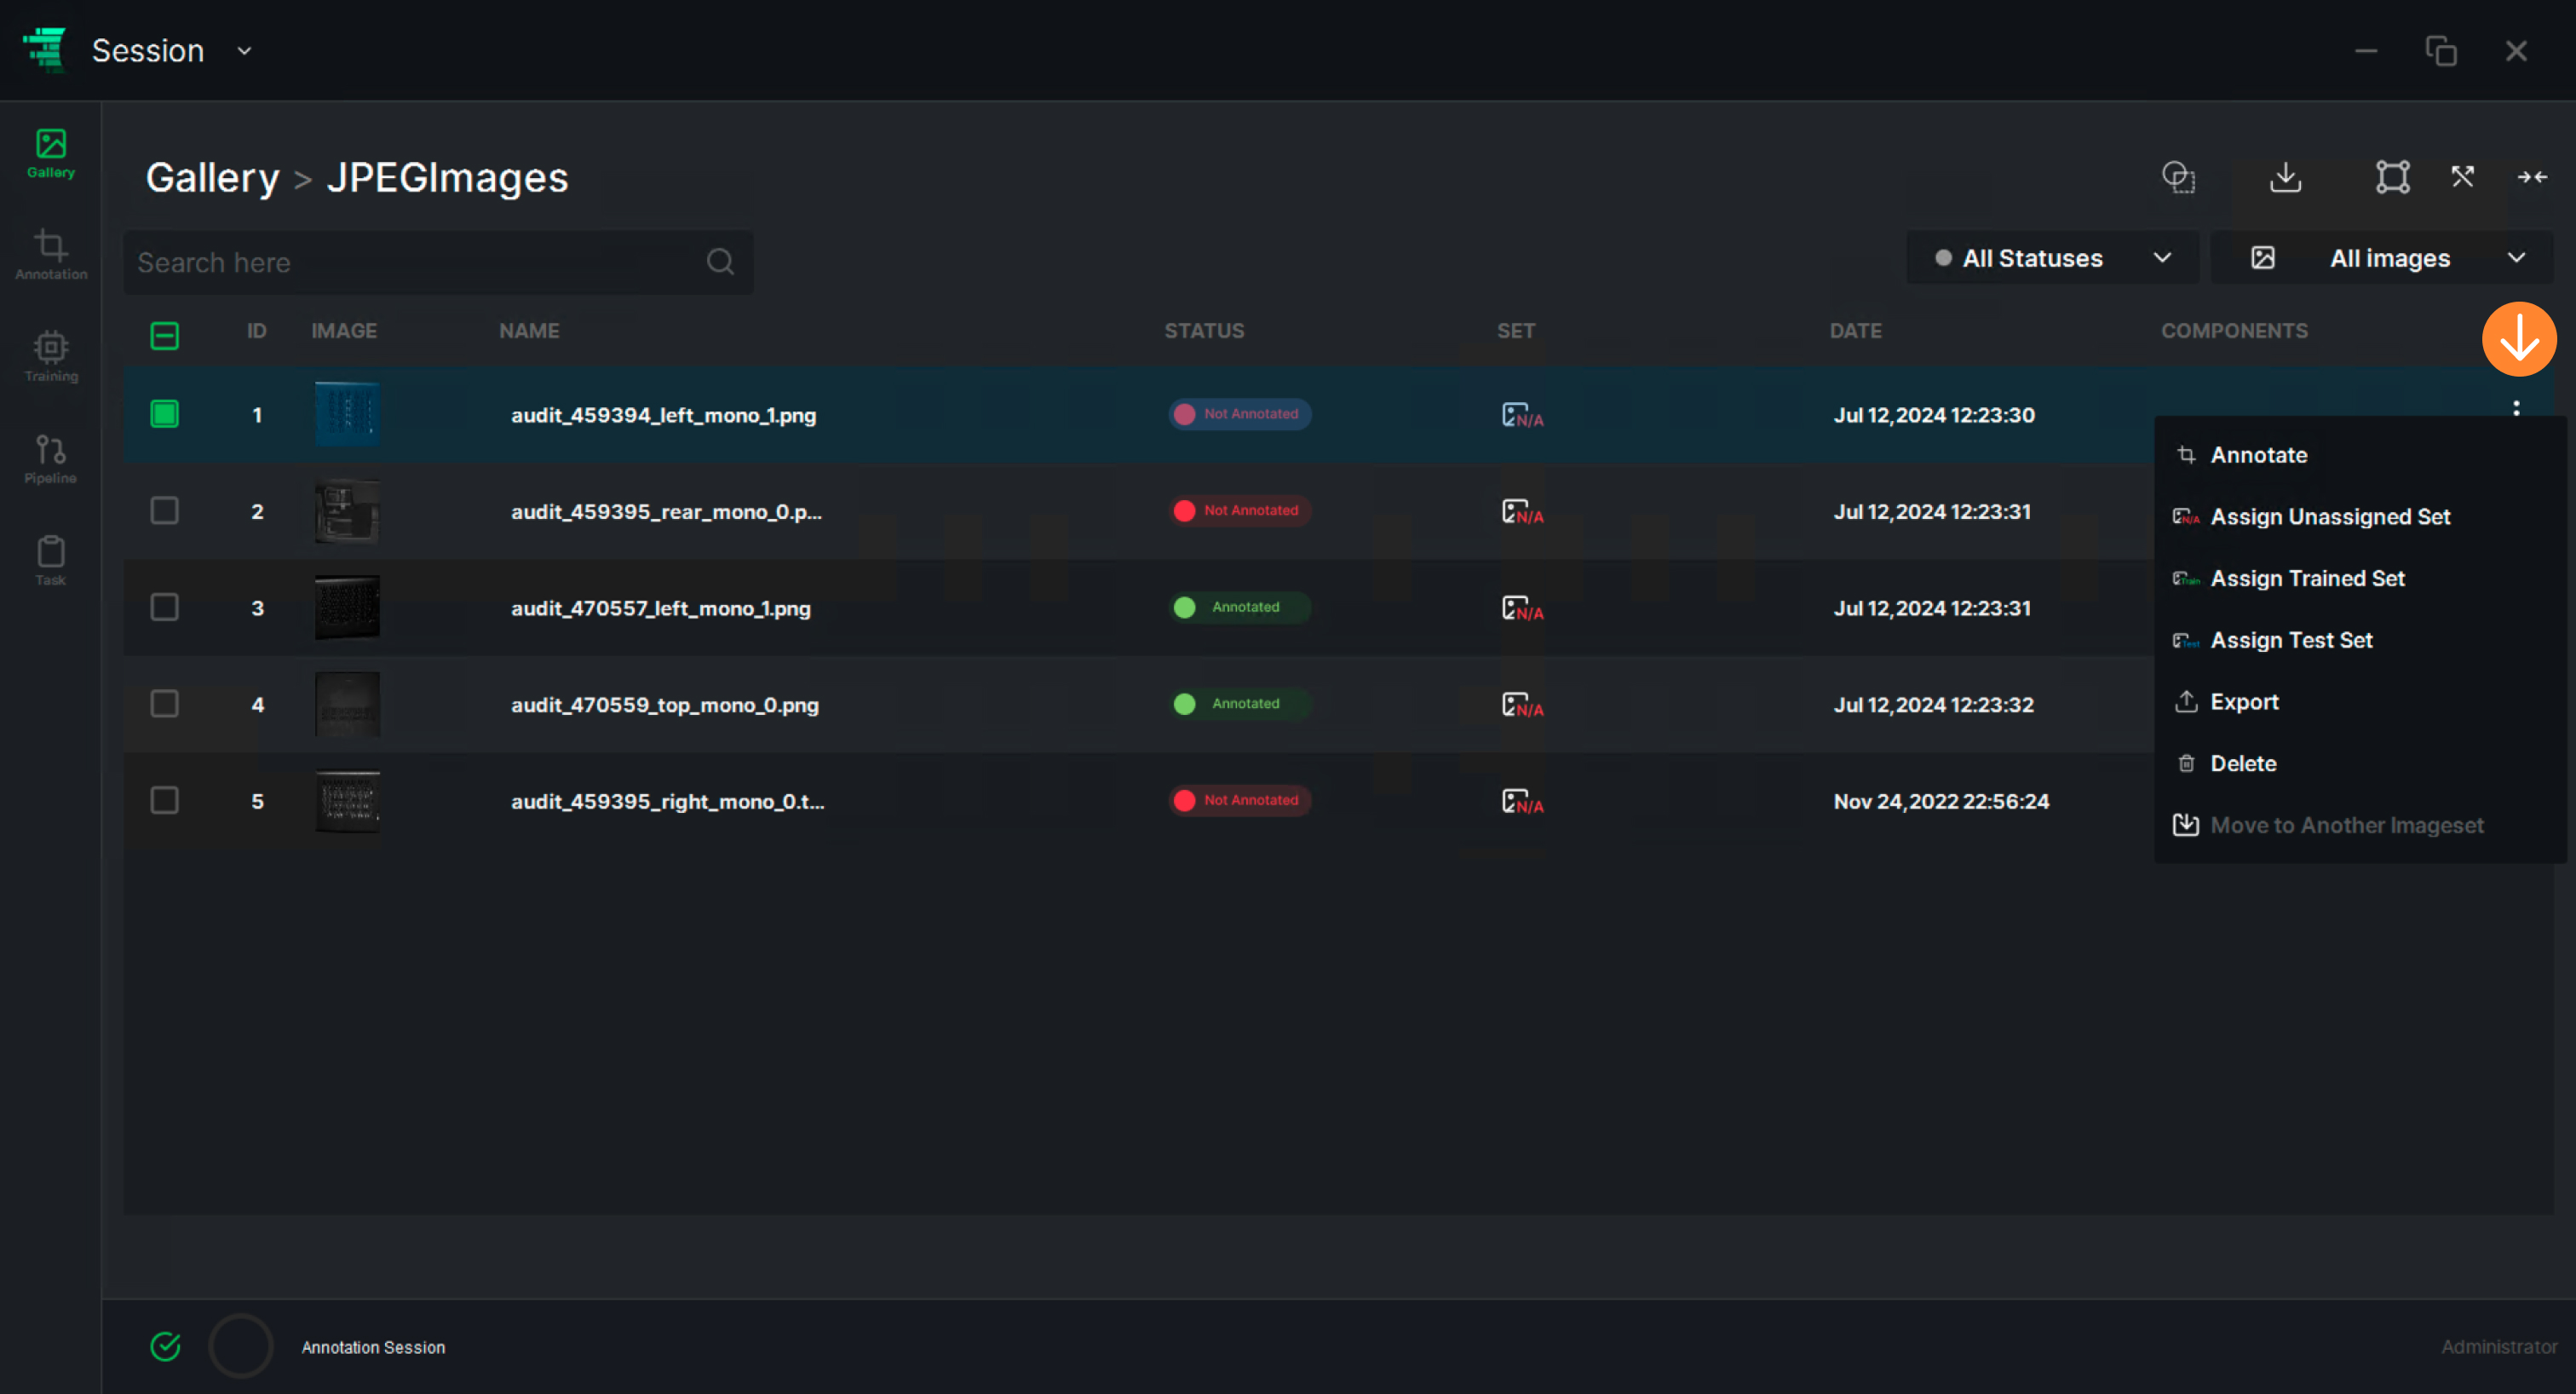
- Download data annotated with Label Me format. Load the imageset and the annotations that you downloaded using ReliVision. Import the imageset using “Import Data” and the annotation file per image folder using the “Import Annotated Dataset” (with the Label Meformat option). Your annotated dataset will be available in the gallery.
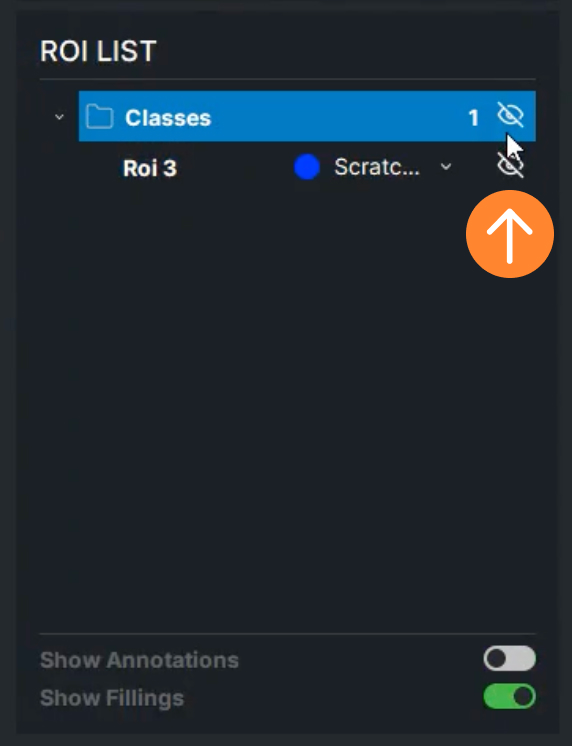
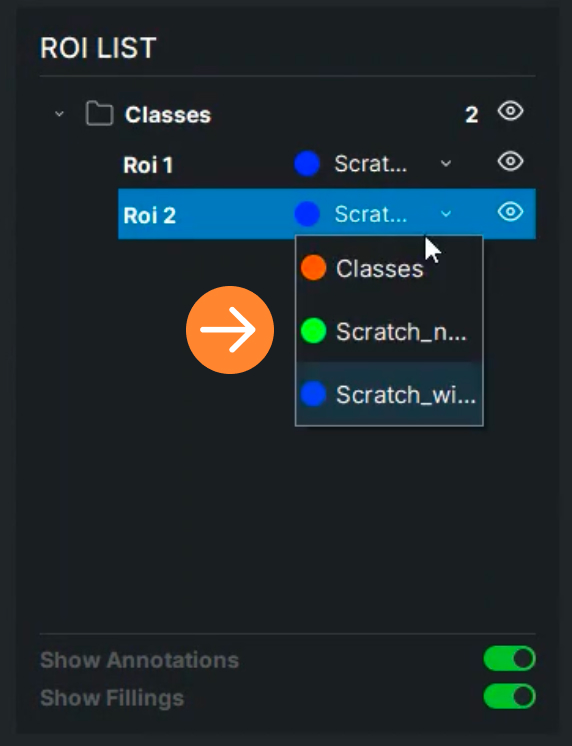
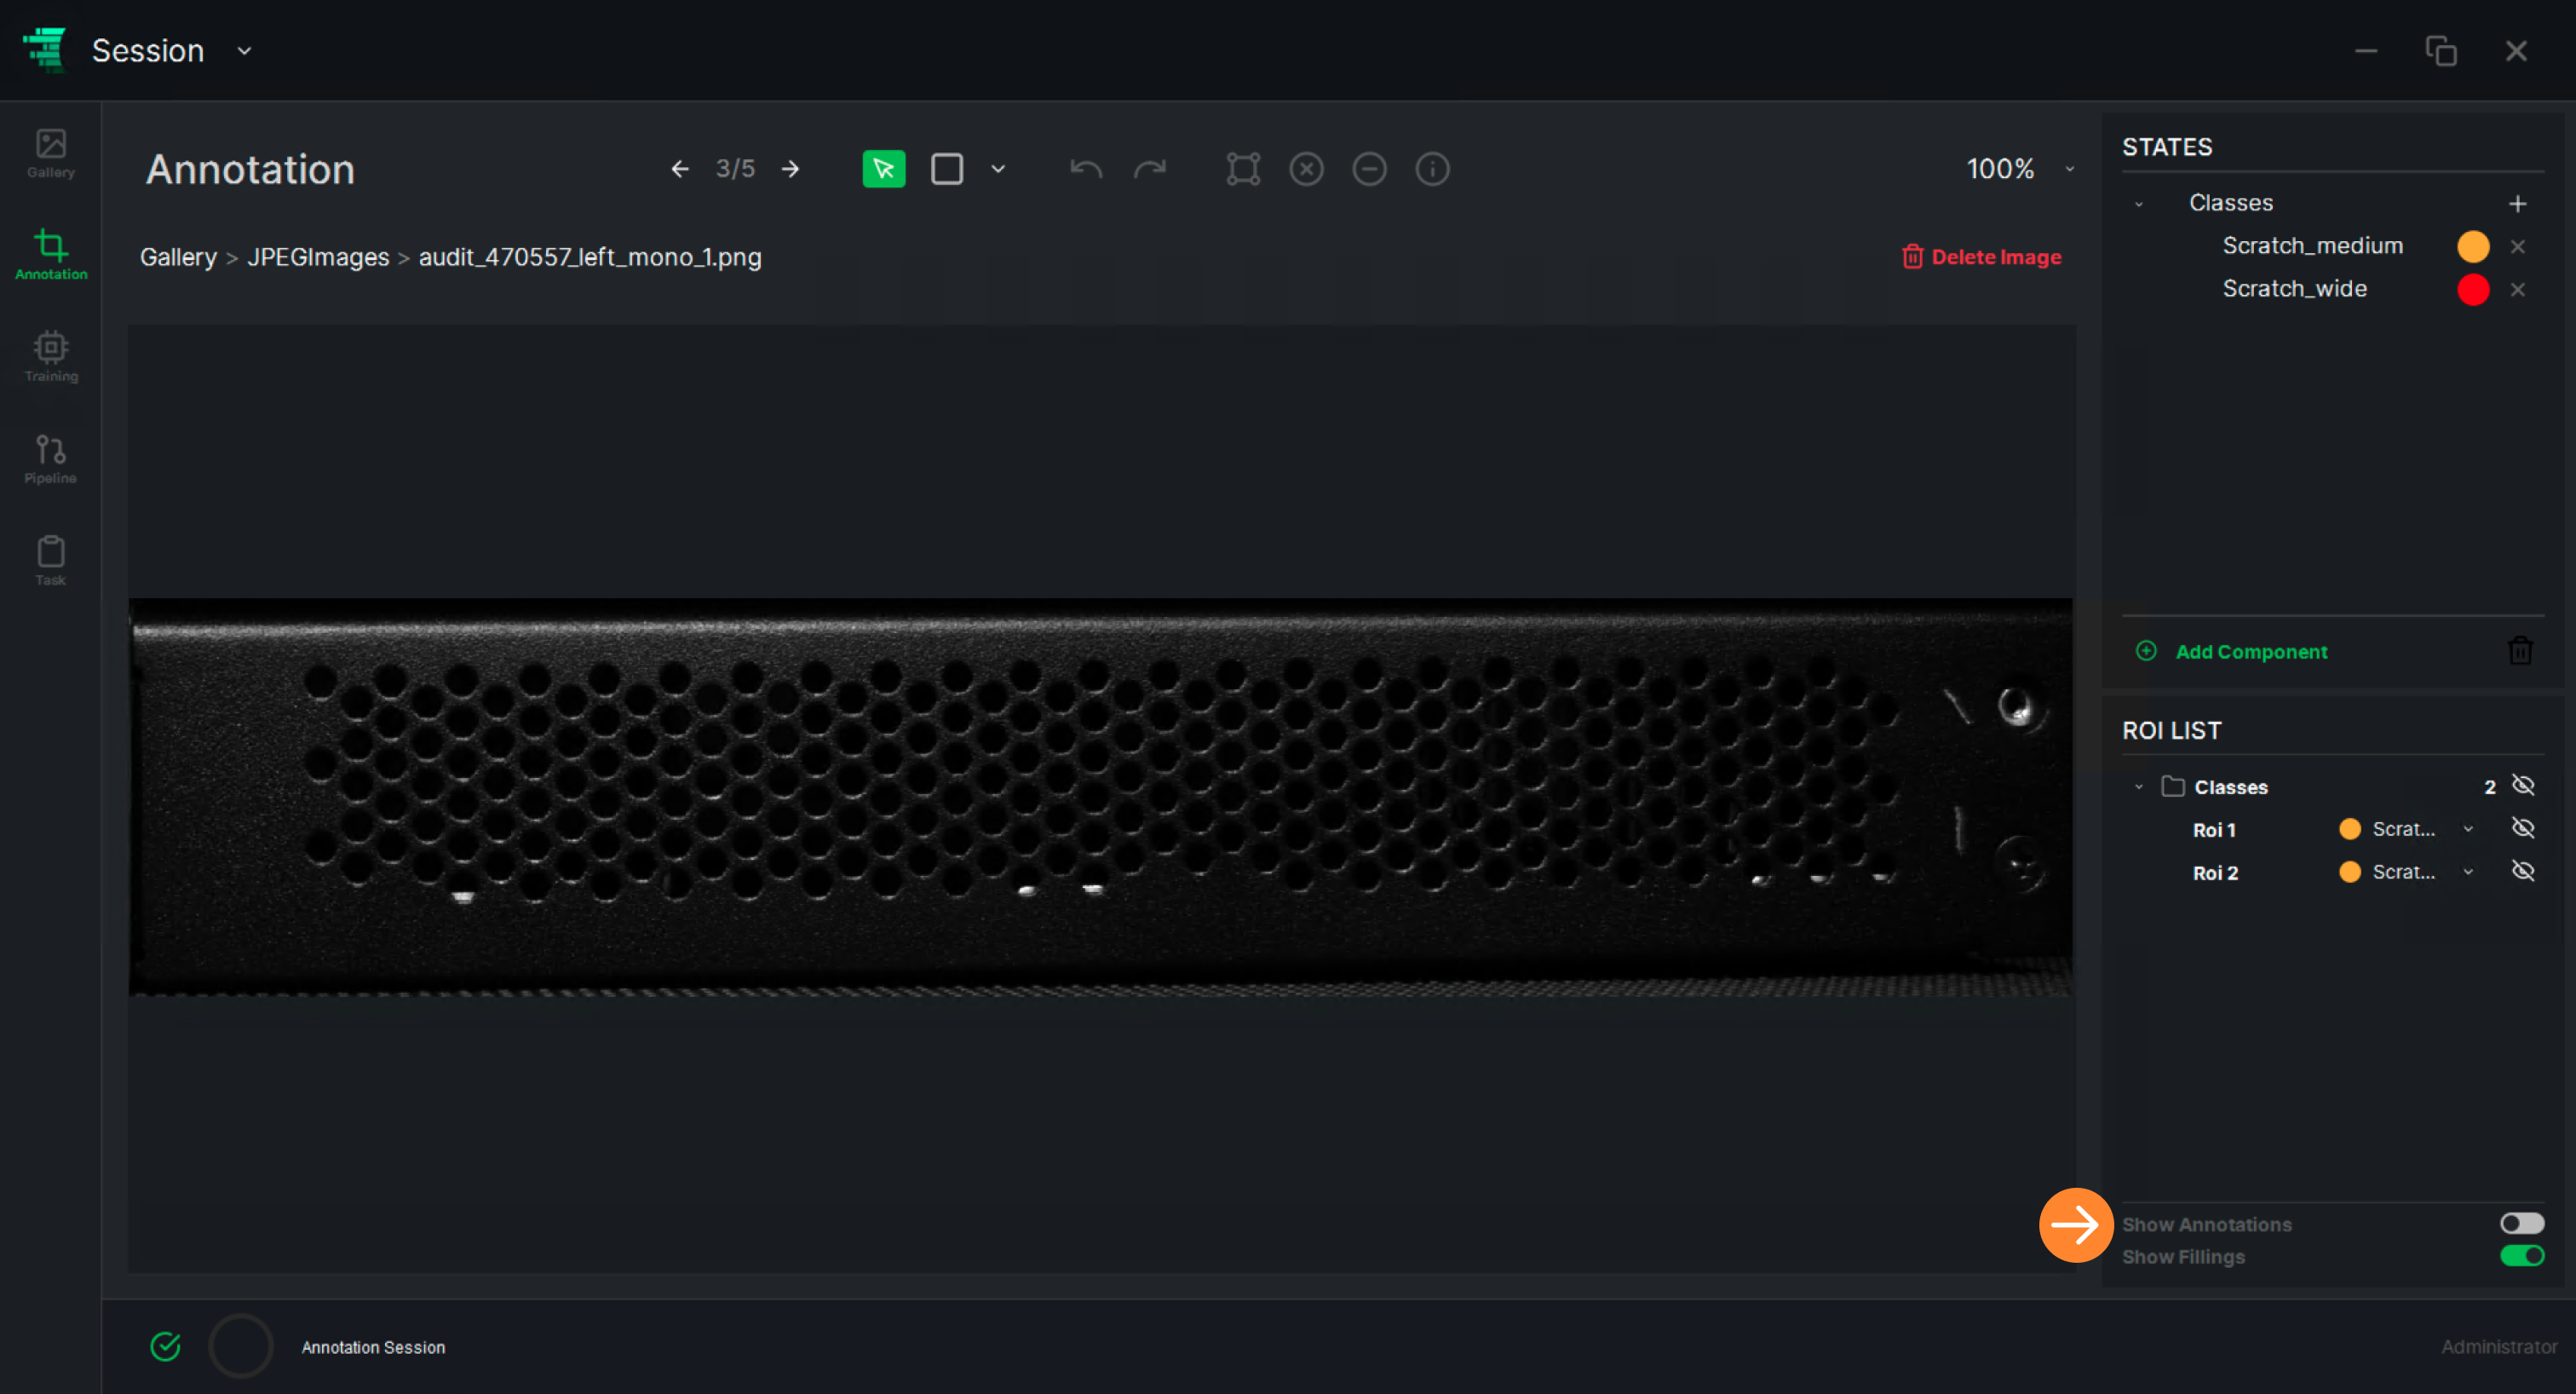
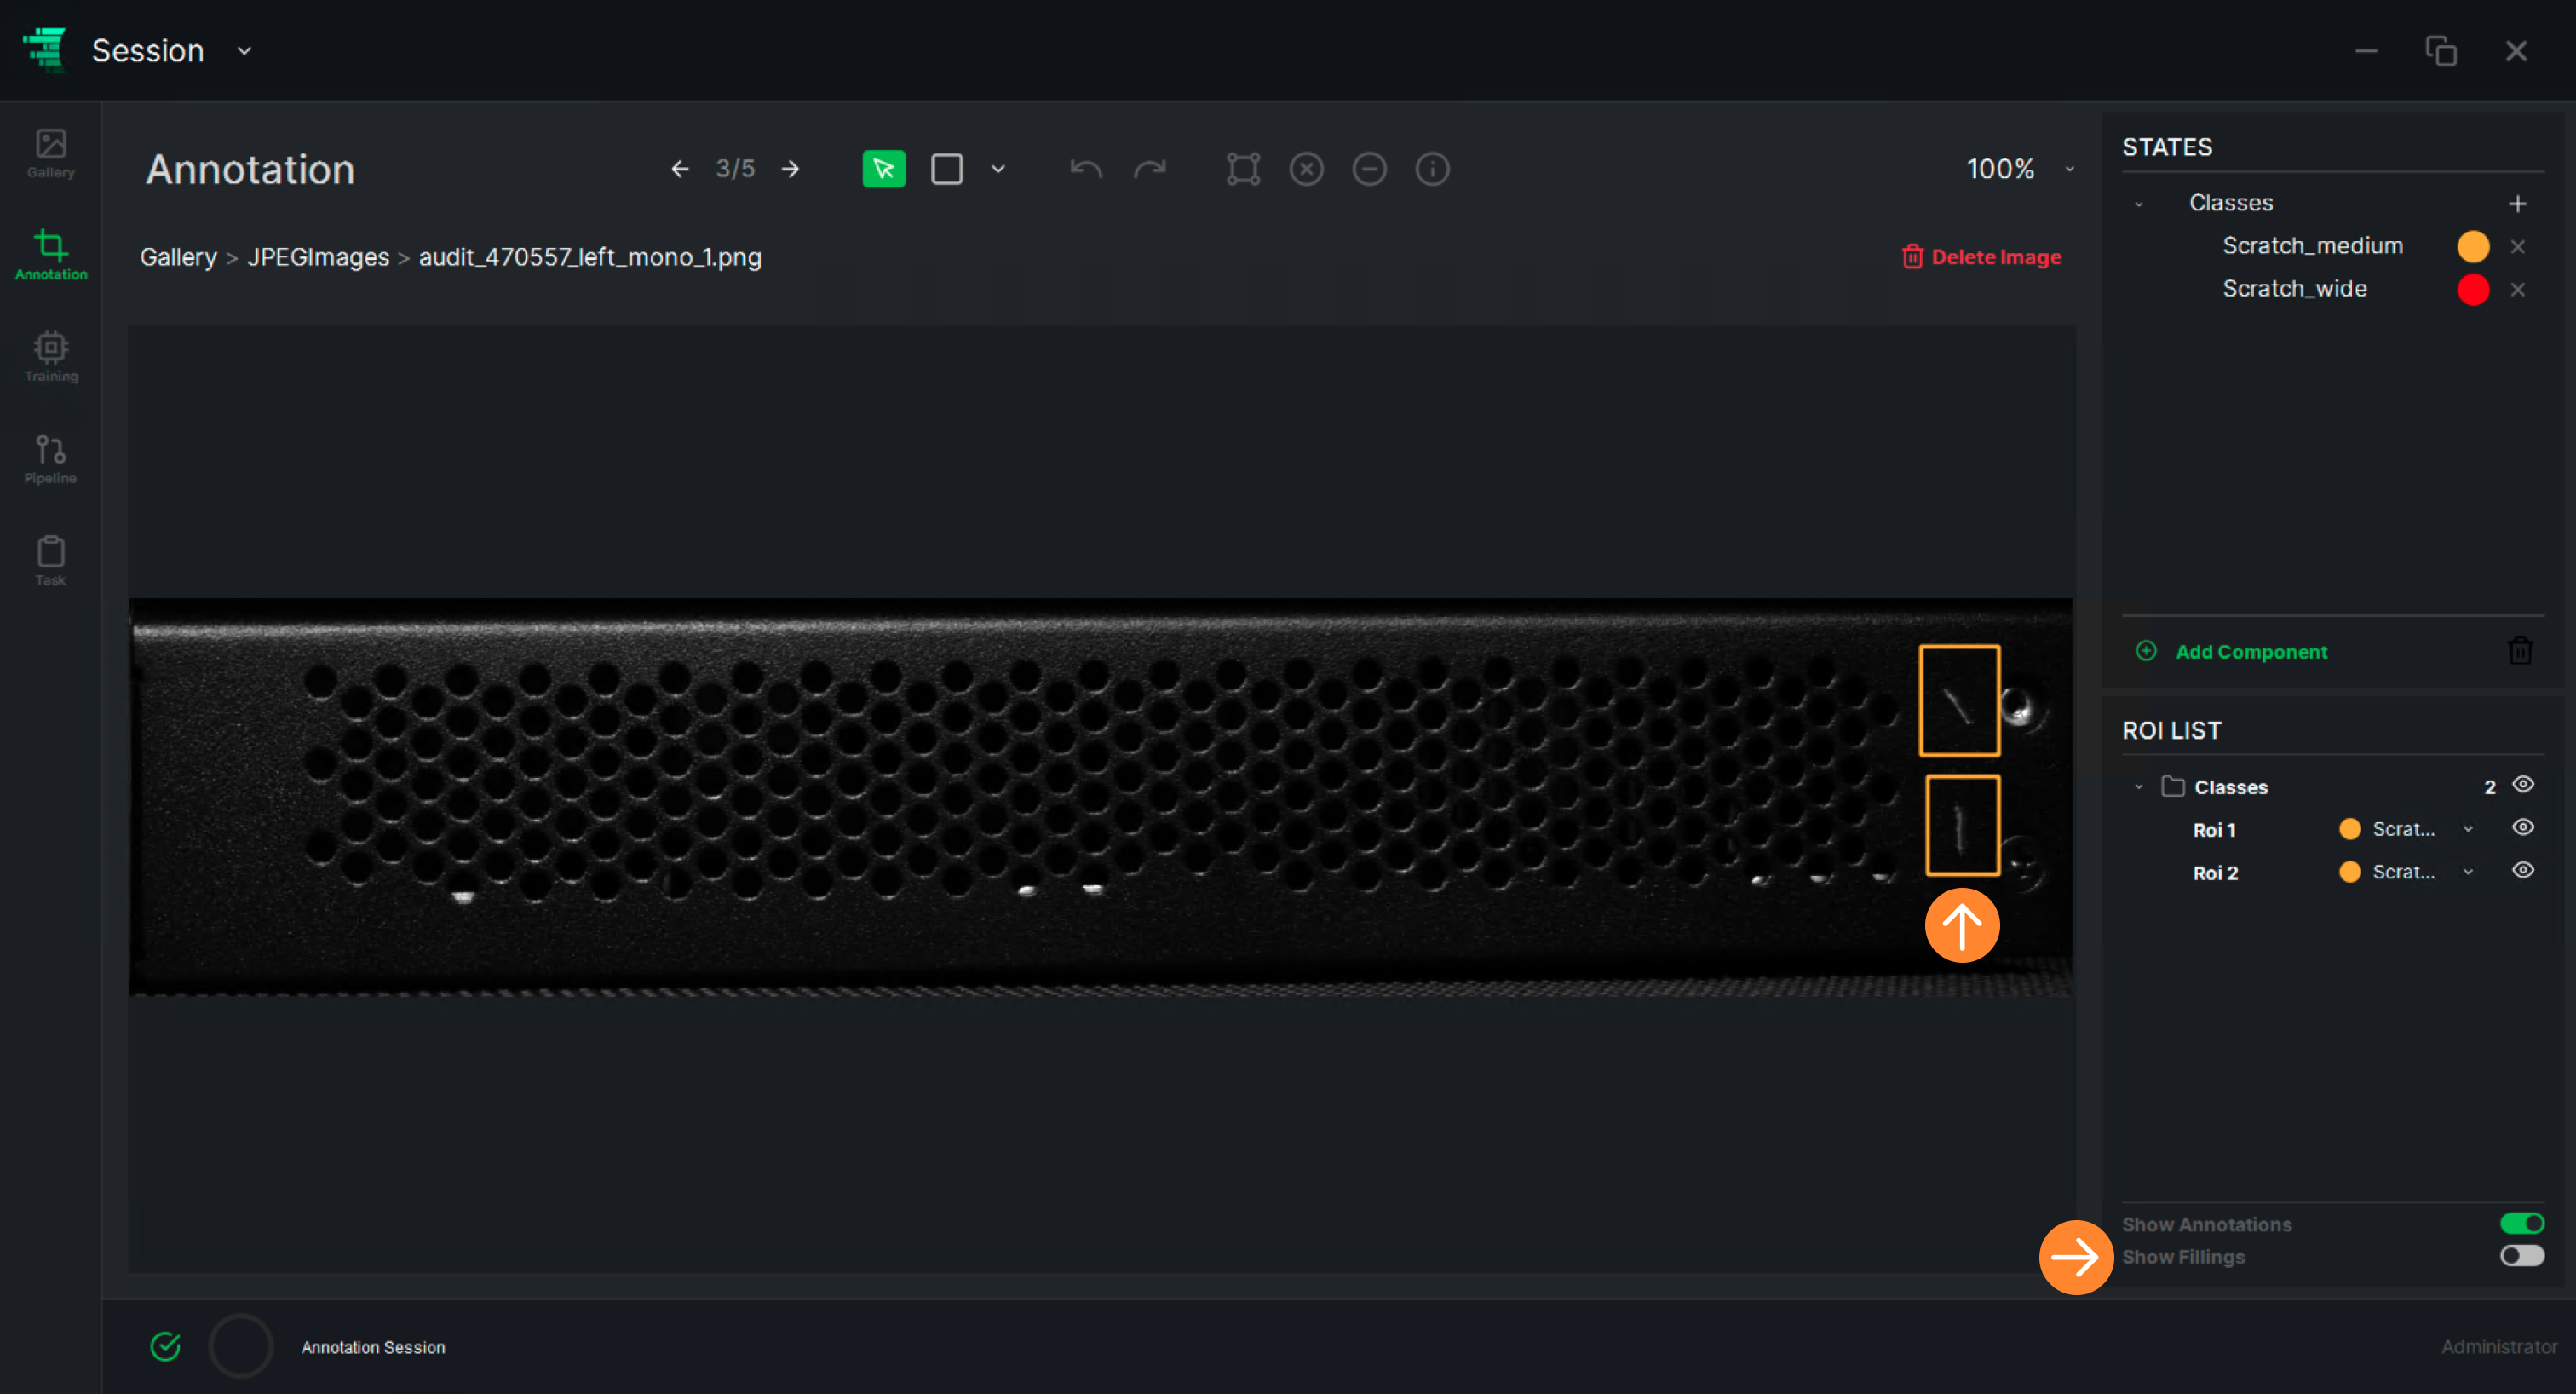
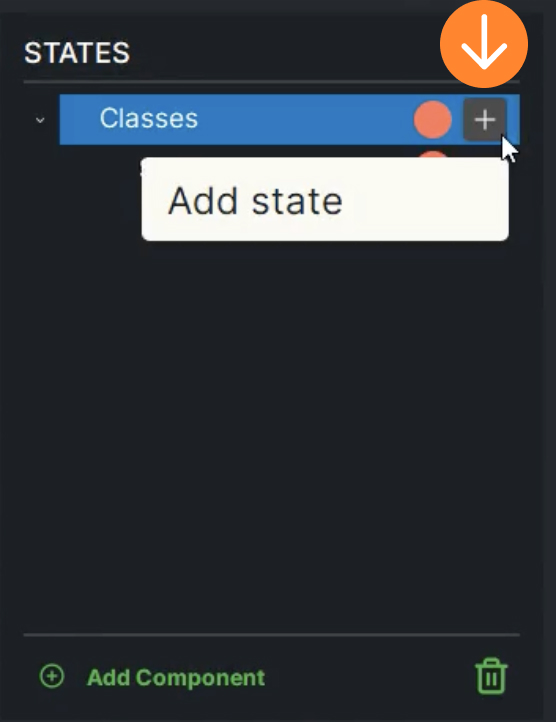
- Load the imageset and annotate the data yourself in any industry standard format you like using the ReliUI’s intuitive annotation functions. To do that, download the image folder only. Follow the ReliVision Knowledge Hub User Guide (ReliUI: Data Curation) to define the target state/label (which is “scratch_normal” or “scratch_wide”), to annotate the defects (using rectangle annotation tool as the task is object detection) and to save them in an appropriate industry standard format. A sample annotation of an image, where the scratch_normal and scratch_wide classes are highlighted with orange and red rectangles, is as follows:
.jpg)
Cosmetic Check Model Training:
Follow the ReliVision Knowledge Hub User Guide (ReliTrainer: Training an AI Block) to train your AI model for metal nut defect detection. The main steps, detailed in the User Guide, include
- Model type selection: Object Detection
- Annotated dataset selection
- Automated or manual train/test split which essentially spares some data for training validation purposes.
- Hyper parameter setting: We have chosen the following in this use case:
- Epochs: 1000
- X-Y Resolution: 640
- Learning Rate: 0.01 (default)
- Momentum: 0.937 (default)
- Weight Decay: 0.005 (default)
Training and Validation loss and IOU curves as a function of epochs:
.jpg)
Use the pipeline editor to build your pipeline by dragging and dropping the AI/Basic blocks. You will need to select an input data source (your raw image set), and an Object Detection AI Block connected in series as depicted below. Follow the ReliVision Knowledge Hub User Guide (ReliTrainer: Pipeline Editor / AIPipeline).
.jpg)
Simply run your pipeline using the execute button at the top. You can review your results using the ReliUI data annotation interface. Your pipeline’s outputs will be saved as a separate set of annotations for each image it is run on. Visit the ReliVision Knowledge Hub User Guide (ReliTrainer: Pipeline Editor / AIPipeline) for more details.
.jpg)
.jpg)
.jpg)
.jpg)
.jpg)
.jpg)
.jpg)
.jpg)
.jpg)
.jpg)
.jpg)
.jpg)
.jpg)
.jpg)
.jpg)
.jpg)
.jpg)
.jpg)
.jpg)
.jpg)
.jpg)
.jpg)
.jpg)
.jpg)
.jpg)
.jpg)
.jpg)
.jpg)
.jpg)
.jpg)
.jpg)
.jpg)
.jpg)
.jpg)
.jpg)
.jpg)
.jpg)
.jpg)
.jpg)
.jpg)
.jpg)
.jpg)
.jpg)
.jpg)
.jpg)
.jpg)
.jpg)
.jpg)
.jpg)
.jpg)
.jpg)
.jpg)
.jpg)
.jpg)
.jpg)
.jpg)
.jpg)
.jpg)
.jpg)
.jpg)
.jpg)
.jpg)
.jpg)
.jpg)
.jpg)
.jpg)
.jpg)
.jpg)
.jpg)
.jpg)
.jpg)
.jpg)
.jpg)
.jpg)
.jpg)
.jpg)
.jpg)
.jpg)
.jpg)
.jpg)
.jpg)
.jpg)
.jpg)
.jpg)
.jpg)
.jpg)
.jpg)
.jpg)
.jpg)
.jpg)
.jpg)
.jpg)
.jpg)
.jpg)
.jpg)
.jpg)